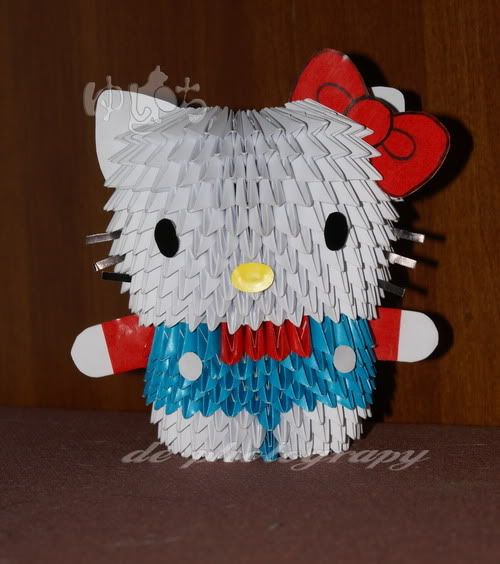
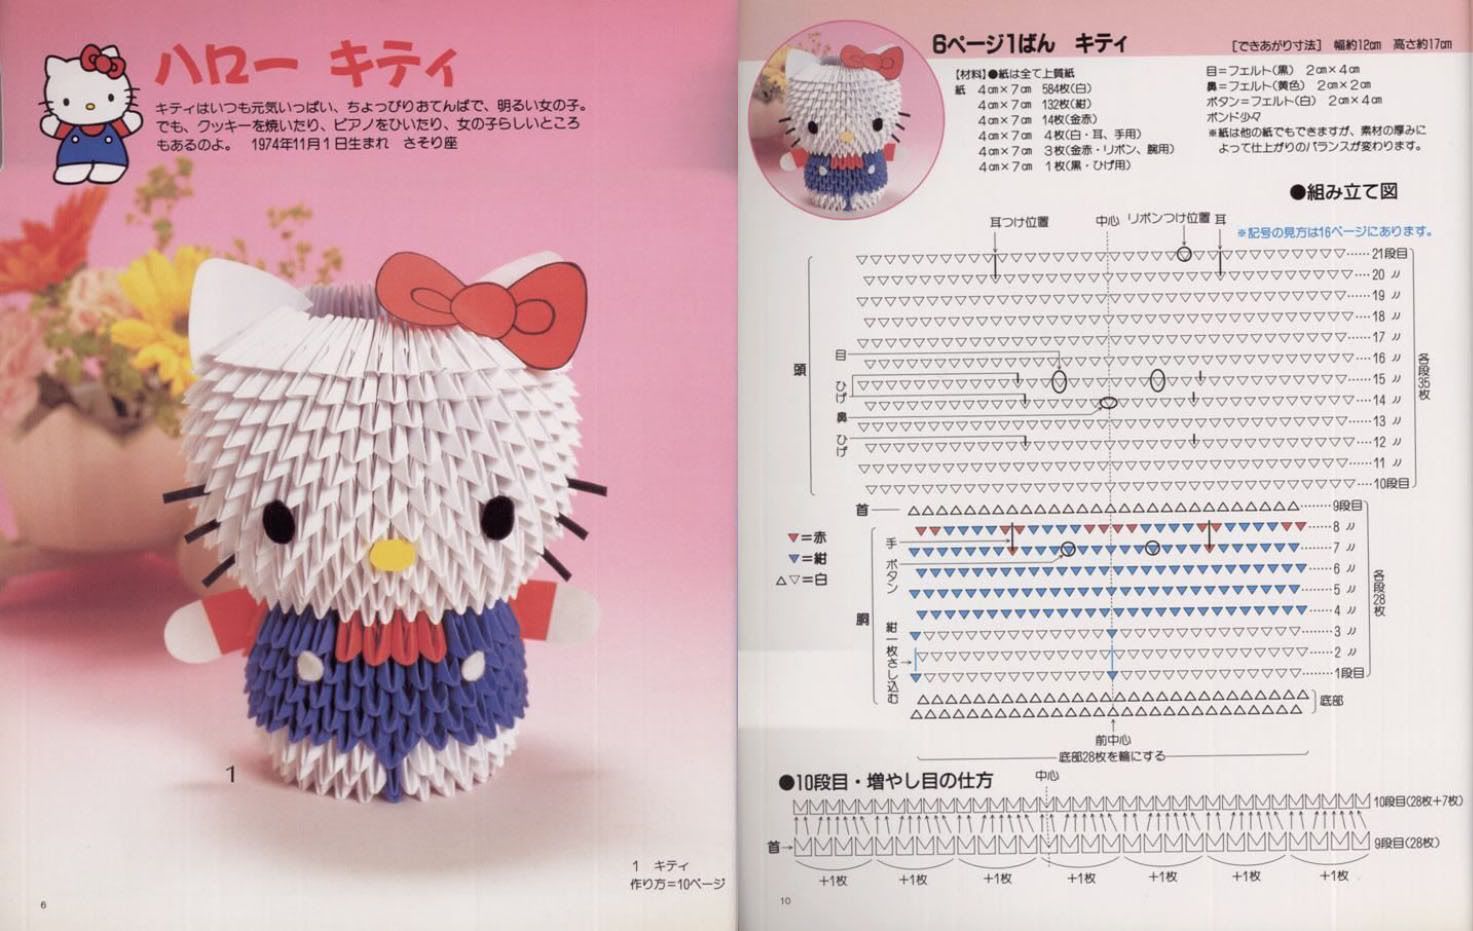
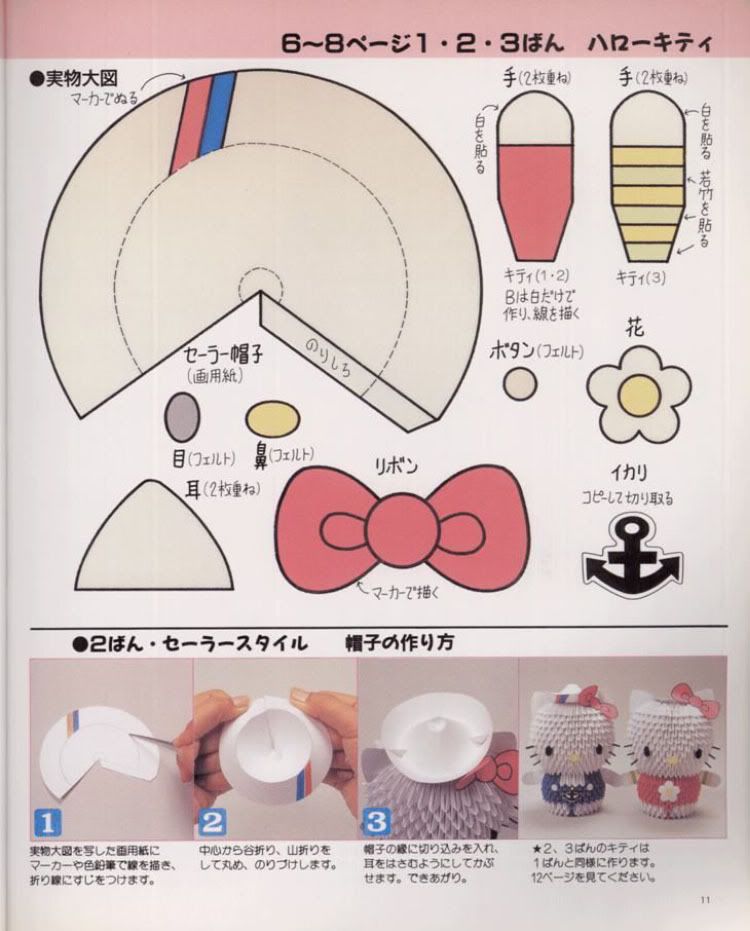
Just like I promised, I'll show my 1st project of Blockfolding Origami Hello Kitty 3-D figure.
The paper size for each part is 7 x 4 cm.
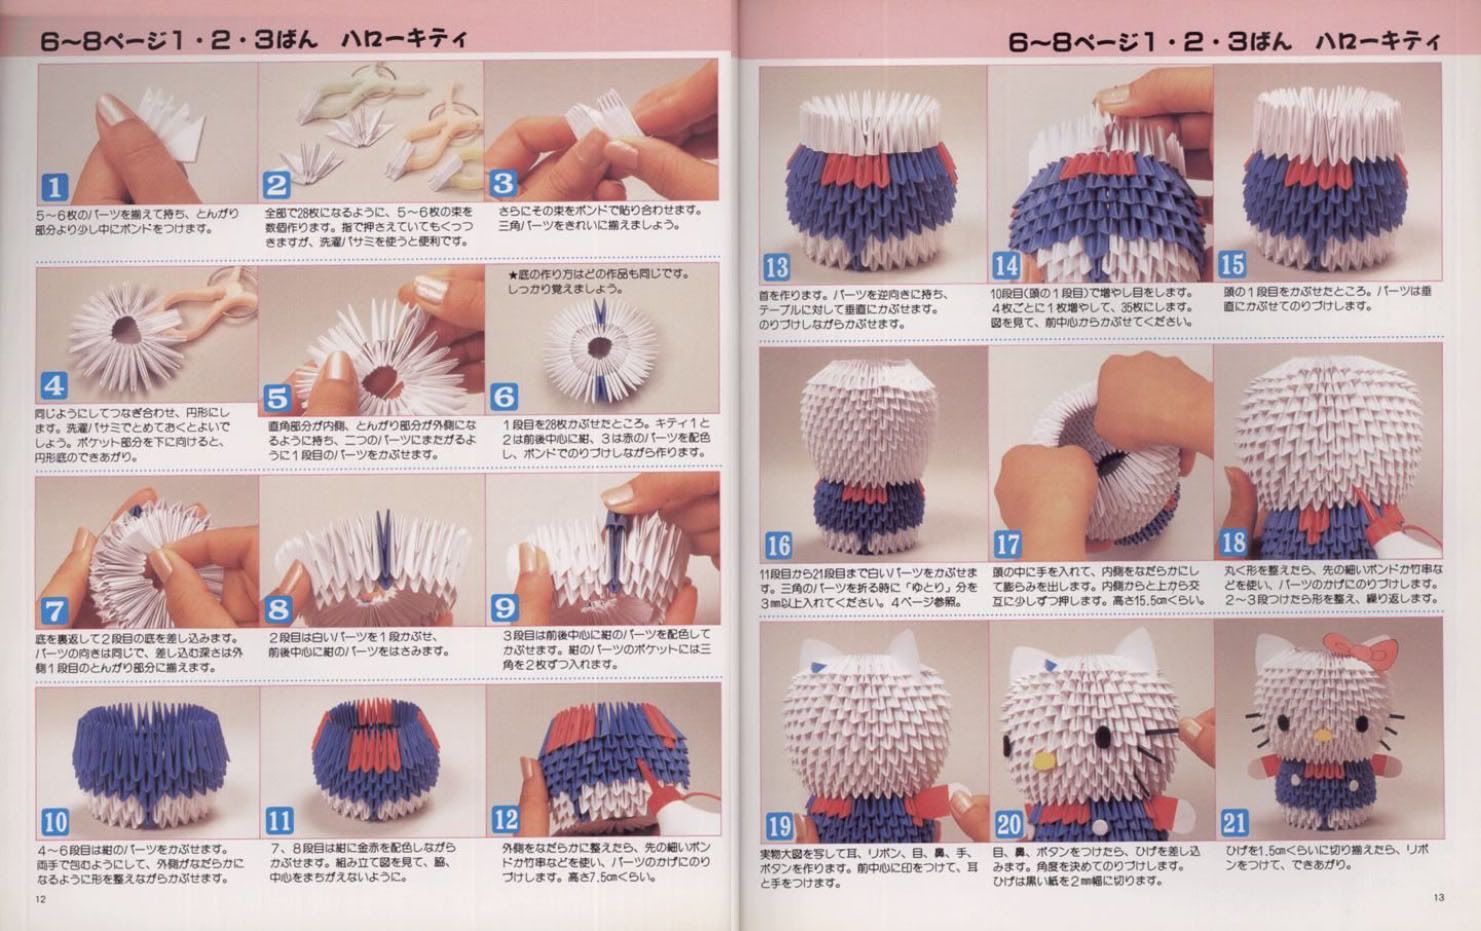
This project mainly needs :
1. White : 584 pieces
2. Blue : 132 pieces
3. Pink : 14 pieces
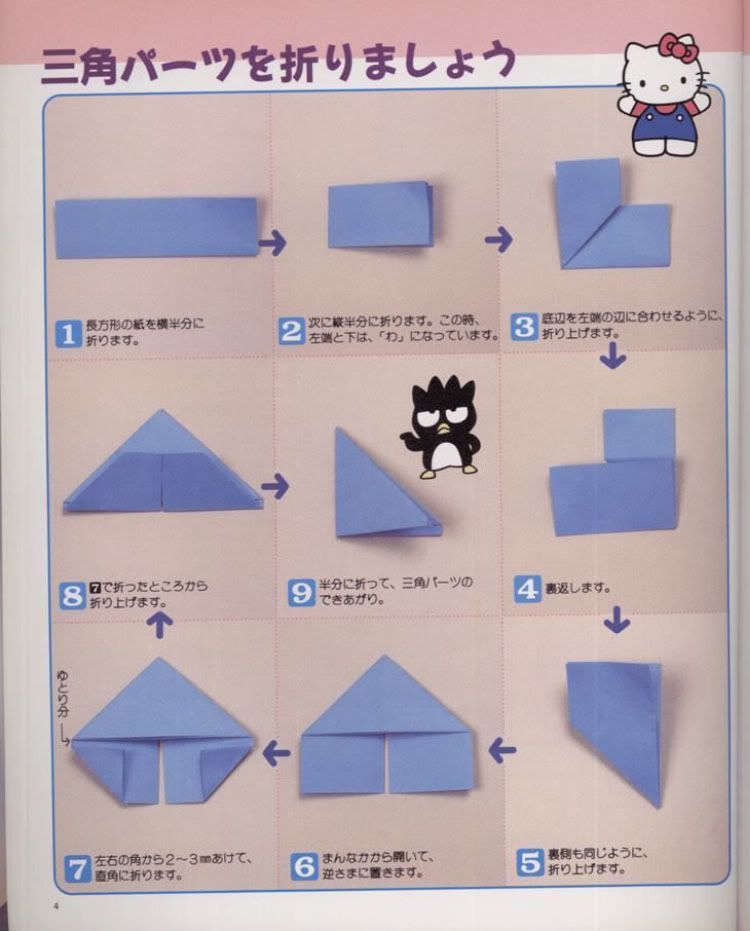
Here're the instructions :
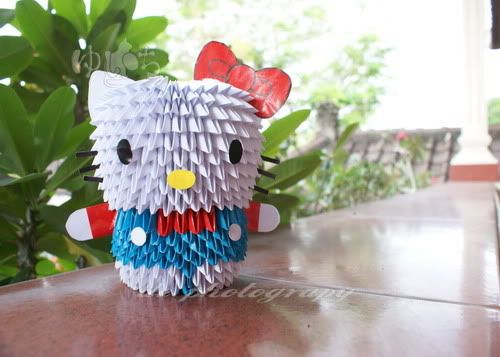
And now I proudly present my Hello Kitty 3-D figure :
I'm proud of it because I could bear the boring feeling because I had to do hundreds of same folding works.
Yatta yo!! (^o^)9
It took me a whole week to finish this project with a great help from my friend. I'm glad to see it's done well... ^^
Monday, September 21, 2009
カーブ くす玉 ~ Kusudama Cup
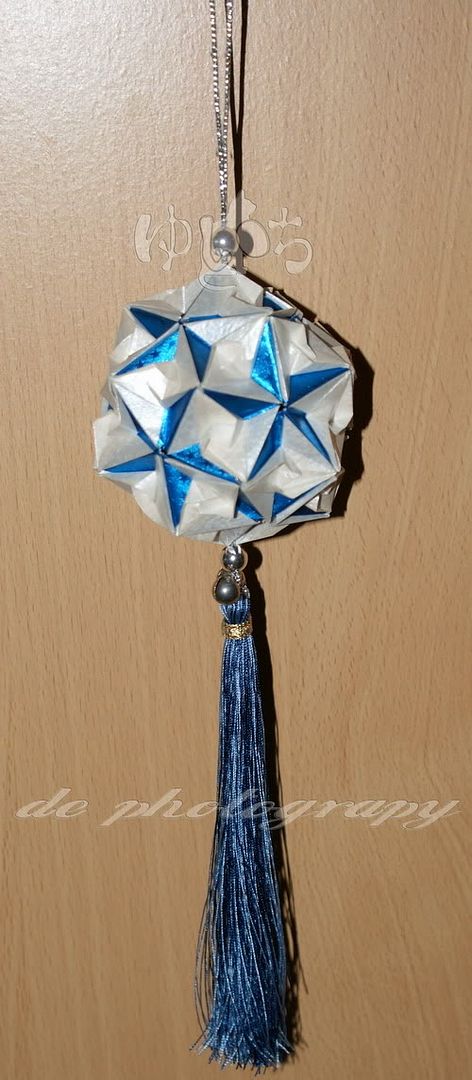
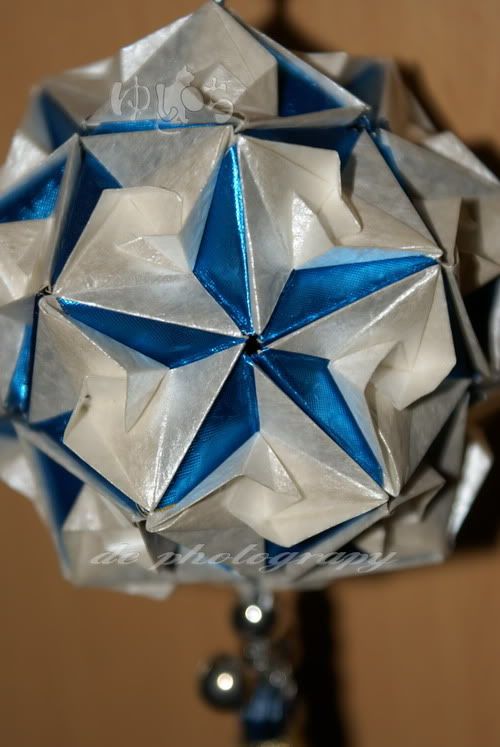
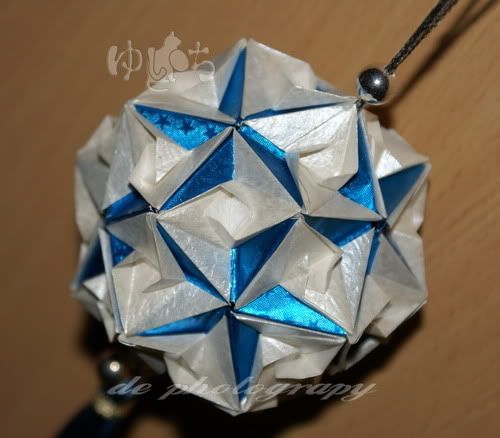
Another creation of Tomoko Fuse. This is also one of her star-based kusudama. I made this from 30 pieces 7 x 3.5 cm glossed blue art papers as the base part and 30 pieces 7 x 3.5 cm pearl white art paper as the cup parts :
Zoomed in :
And if you interested in making this type of kusudama, here's the diagram
I plan to hang this inside my car. It's just irresistibly cute!!
Zoomed in :
And if you interested in making this type of kusudama, here's the diagram
I plan to hang this inside my car. It's just irresistibly cute!!
Blockfolding Origami
Have you heard about blockfolding origami?
It's a kind of origami which making a lot of folding parts and unite them to form a 3-D figure. When I say a lot of parts it really means A LOT!! We might have to fold hundreds of parts for 1 3-D figure... XD
The folding instruction of the part is very simple. We only need to learn 1 type of folding instruction :
And there're 2 type of uniting the parts :
So... That's the Blockfolding Origami's basic. I'll show you the result of mine later.. ^^
Monday, September 14, 2009
Arabesque Kusudama Variation
And now I'd like to show you my real Arabesque Kusudama works.
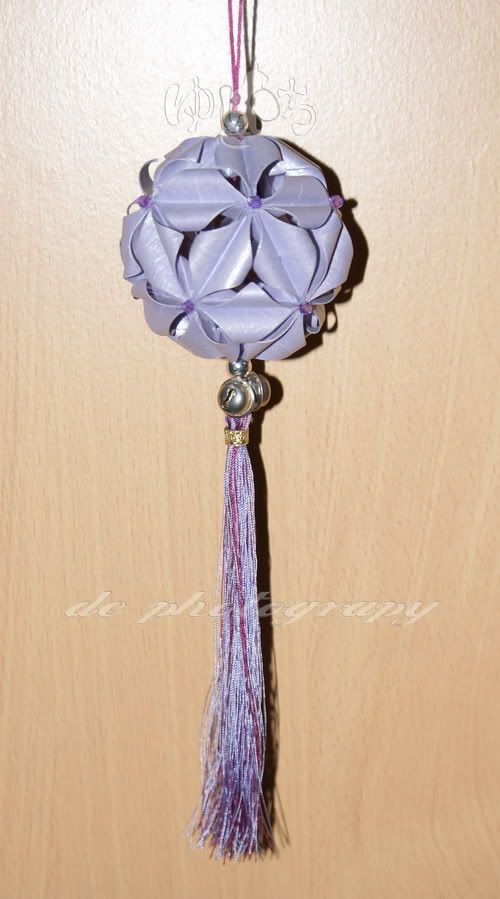
The 1st one made from 6 x 6 cm light purple papers :
The 2nd one made from combination of brown and light gold papers which sized 7 x 7 cm :
This time I attached a gold Swallowtail Butterfly as an accent :
I planned to give them to my colleagues. I hope they won't mind to receive such humble presents.. ^^
Arabesque Kusudama Variation Prototype
I made this type based on Tsugawa Mio's creation. Actually I accidentally made this into a variation because I don't like the in-between part to be showed up. The original Arabesque Kusudama type won't need glue to join the units but this variation need it :
You can find the original diagram HERE
A cute thing abut this variation is if you look inside the ball, you'll find that every flower formed a star shape.. ^^
You can find the original diagram HERE
A cute thing abut this variation is if you look inside the ball, you'll find that every flower formed a star shape.. ^^
Traditional Fragrance Kusudama
Another type which I found at Tsugawa Mio's website.
This type's kind of cute imo. And since I made it quite smaller this time ( 5 x 5 cm), they're even cuter... ^^
I made 2 of this type. The 1st one is using yellow-orange color combination. My brother named it 'High Dosage of Vitamin C" by looking at the color... XD
And the 2nd one is actually a combination of dark pink and dark pink with glitter papers. But in the end the color combination didn't show... Oh well.. Here it is :
If happens that anyone interested in making this type of kusudama, just drop by HERE
Rose Curl Kusudama Variation
When I was making the prototype of Rose Curl Kusudama, I had a thought that if I decide to make the real one I'll make it in black-red color combination. I don't know why but I just simply thought that they would be a pretty cool color combination.. XD
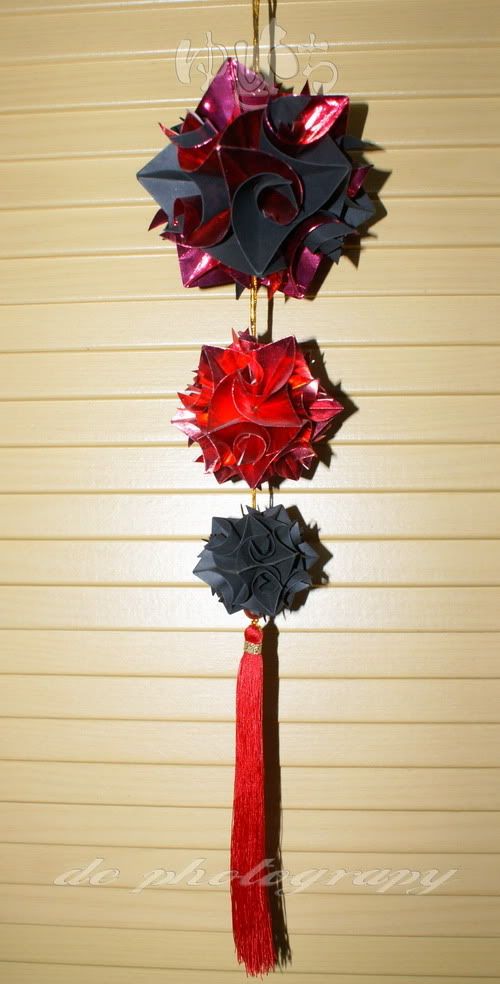
And VOILA!! Here they are :
I made 3 different sizes of the kusudama. The very top one sized 10 x 10 cm of each black and glossed red units. The middle one sized 8 x 8 cm of glossed red units and the very bottom one sized 6 x 6 cm of black units.
Actually making the units wasn't that difficult. But it really depends on the thickness of the paper. So what made me got into some kind of trouble while doing this was that I used 2 different thickness of the papers. It didn't matter for the middle and the very bottom one since they're made in 1 color. But the very top one was kind of difficult because they're made from 2 different thickness of the papers so they're barely entangled together. It's kind of stressed me out when making it. And when they're done I decide to pay more attention in choosing the paper material if I want to make this kind of Kusudama again..
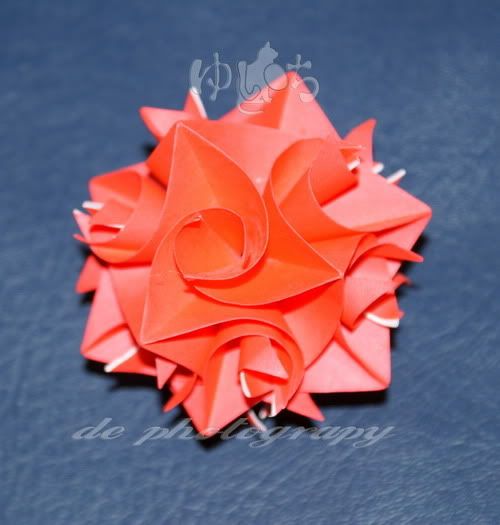
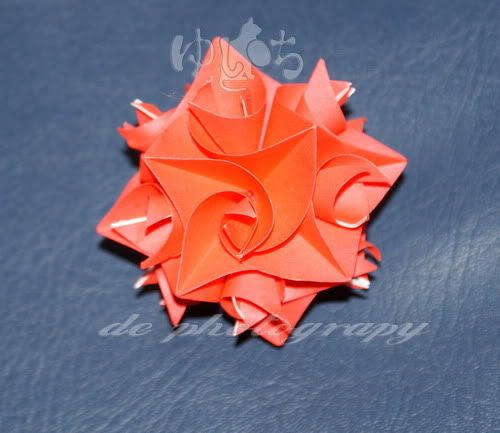
Rose Curl Kusudama prototype
I saw this kind of Kusudama at Tsugawa Mio's website and got interested in making it. But since there's no diagram of this type at her website, I browsed around the net and so far I found this :
As you can see there are 2 type of joining the units, 3 units and 4 units. This is how they look like :
3 Units
4 Units
Sunday, September 13, 2009
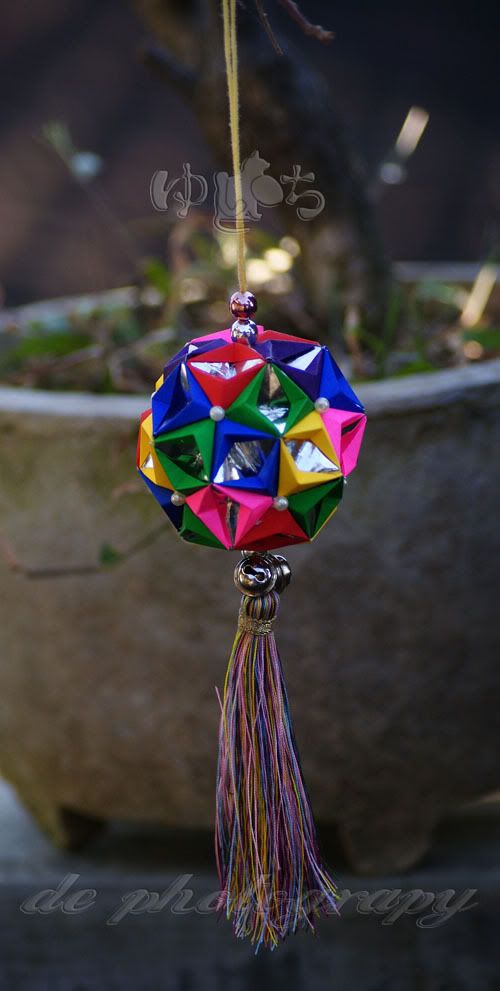
ひし形パッチ くす玉 ~ Hishi Katachi Patchi Kusudama
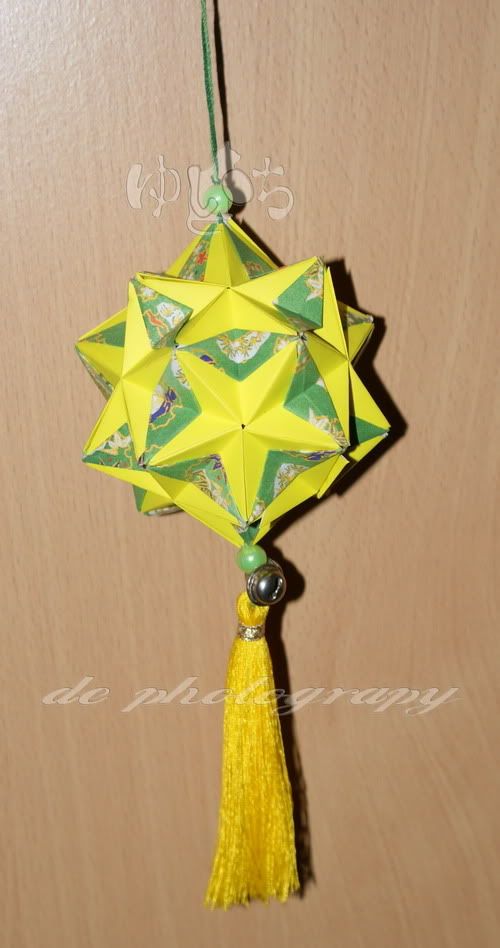
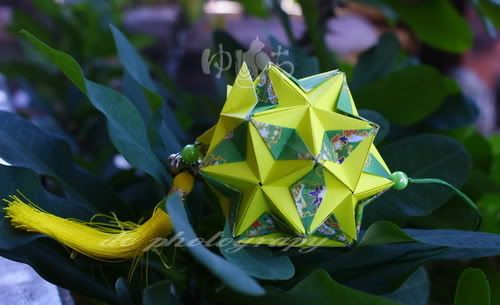
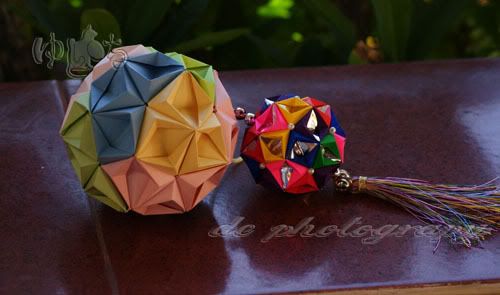
Actually I've made this a few months ago right after I finished Spring Kusudama. This is one of Tomoko Fuse's star-based Kusudama. I've made this with my standard size of Tomoko Fuse's Kusudama ( 7 x 7cm) of lemon yellow origami paper and printed green paper as the separators of each star :
Zoomed in :
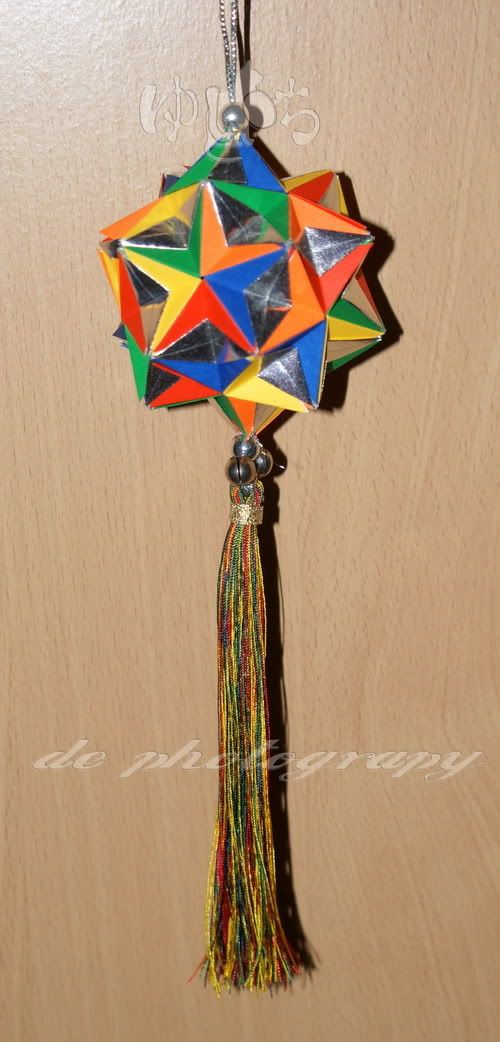
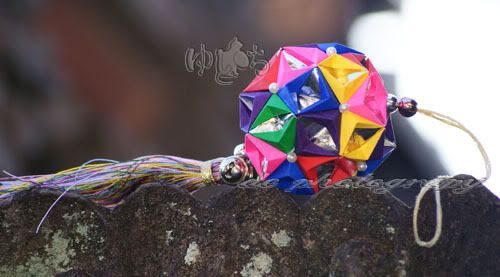
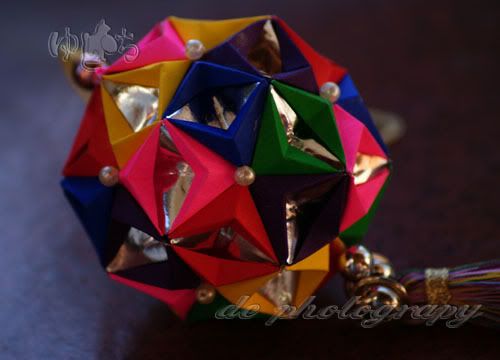
I also made a slight smaller size (6 x 3cm) of this type from 5 colors of origami papers (red, yellow, blue, green, and orange), and silver paper for the separators :
And here's the diagram
Zoomed in :
I also made a slight smaller size (6 x 3cm) of this type from 5 colors of origami papers (red, yellow, blue, green, and orange), and silver paper for the separators :
And here's the diagram
Thursday, August 20, 2009
It's been a while.... no..no... It's been A LONG TIME since the last time I posted my work. Well, a lot of things happened but I still be able to manage some times to make kusudamas. I think I'm going to do some massive posts later, but now I'd like to share something that I really love since the 1st time it was given to me.
A couple of months a go, my best friend's future husband and mother-in-law came and since their plane would transit in my city, they wanted to spend a few days here.My best friend and I planned to escort them around at first but then that plan was changed because an unexpected thing happened.
What made me feel touched was even though they were only met me once, they're so friendly to me. And Yukiko san (my friend's future mother-in law) gave me one of her hand made wood painting stuff. Here it is :
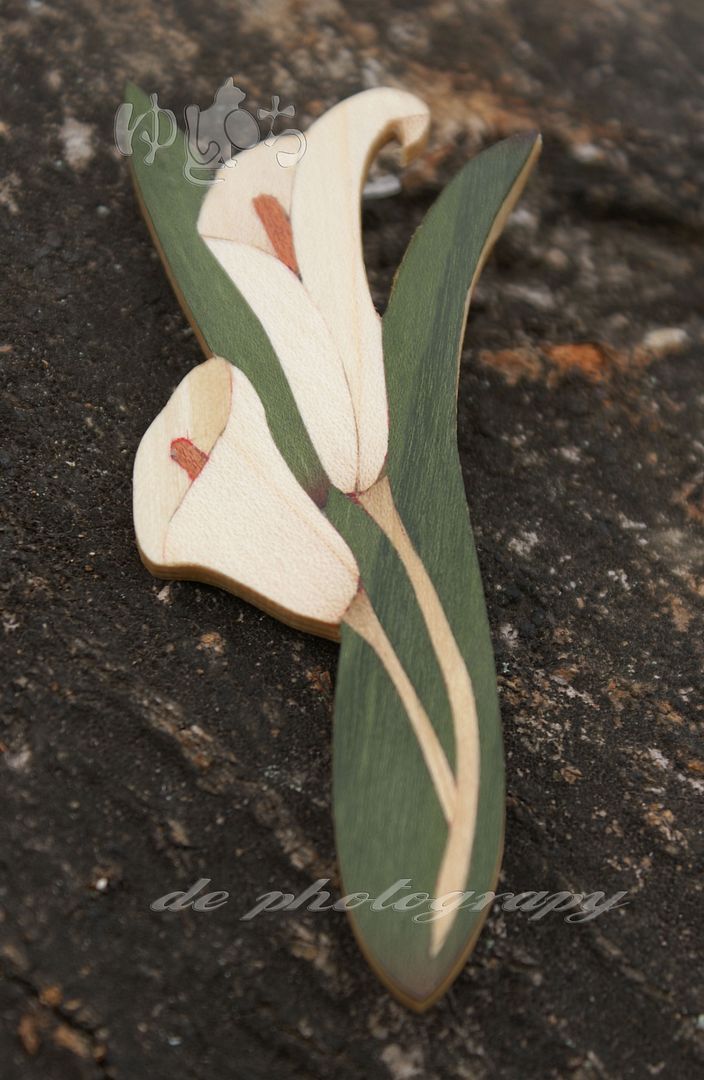
Very pretty, isn't it? I really love it!! I usually like any kind of hand made stuffs. This one is one of my most favorite hand made stuff!
If you curious what actually that stuff is, just take a look at this :
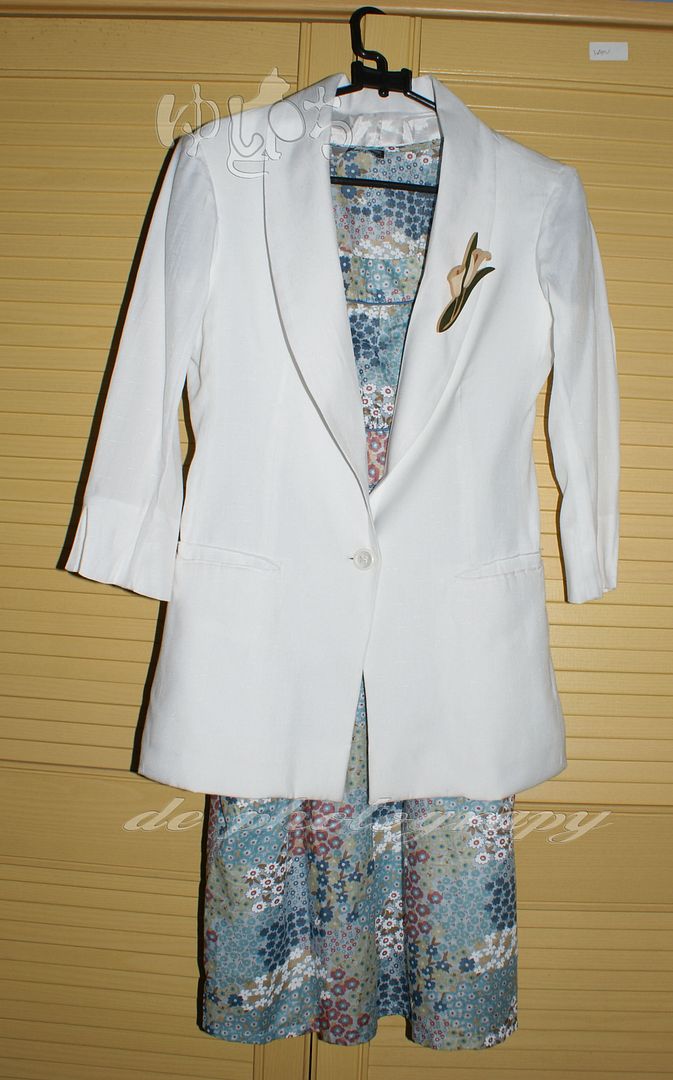
Zoomed in :
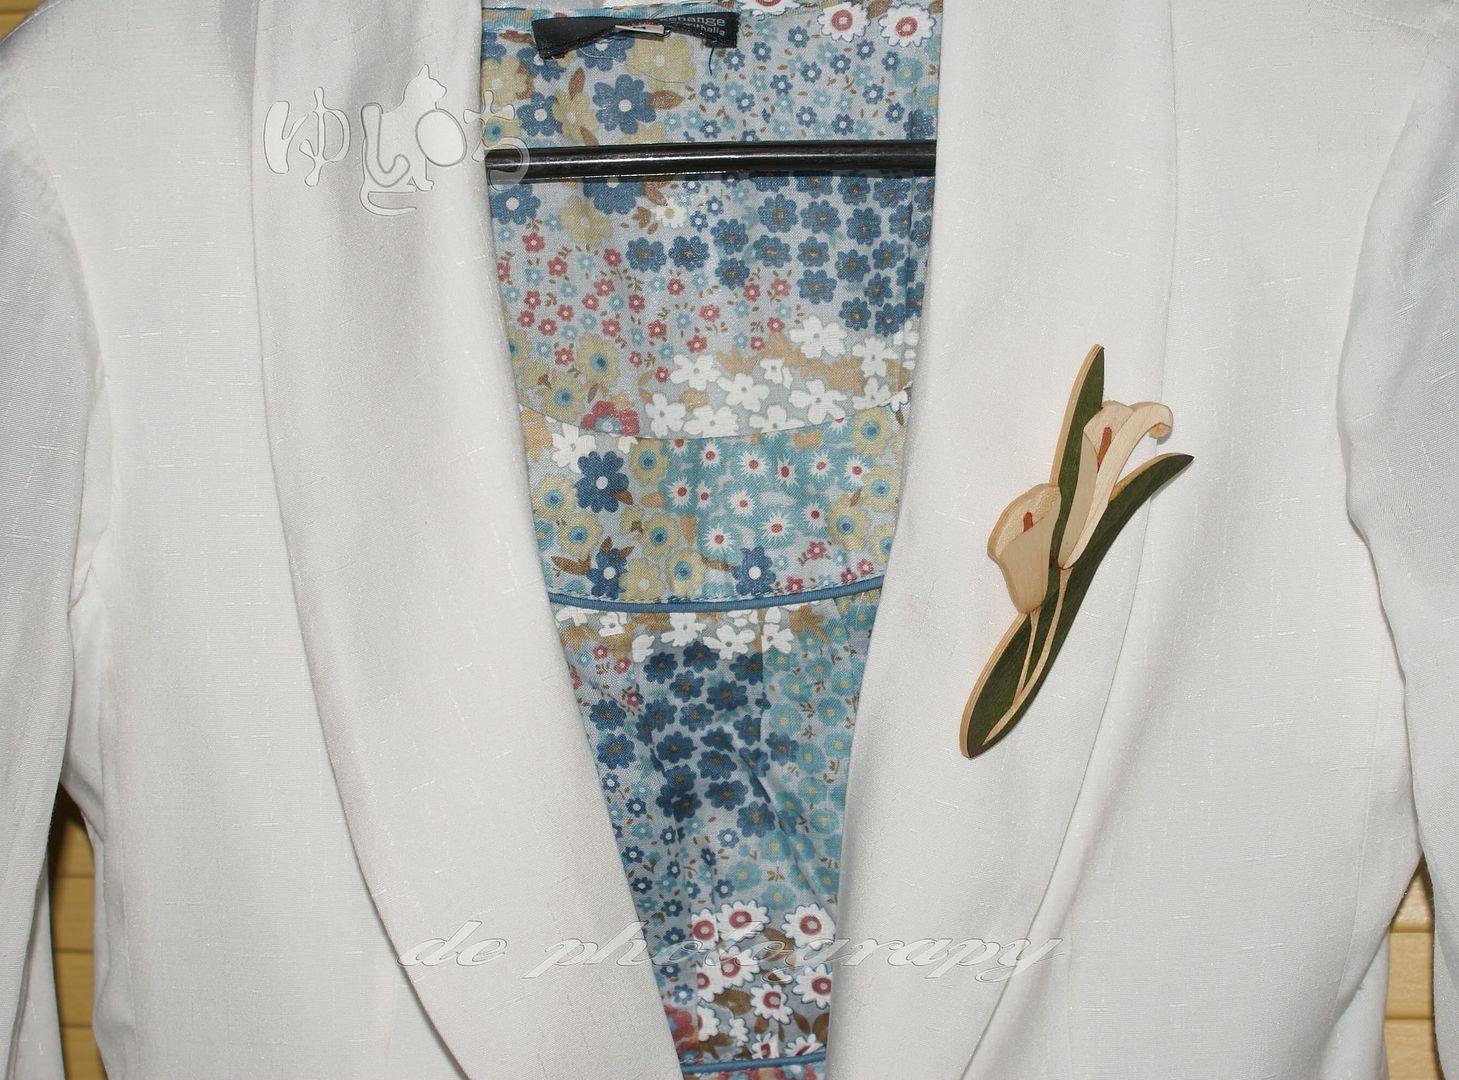
That's right! It's a wooden brooch. It really looks pretty on my jacket's collar. It's just so irresistibly pretty!!
Yukiko san, hontou ni arigatou gozaimashita!!! m(_ _)m
Okay enough for my own fangirling over hand made stuffs. I'll post this kind of random thing once in a while, so please bear with them.. XD
Let's just continue our trip in my origami world \(^o^)/
Monday, May 11, 2009
春 くす玉 ~ Kusudama Spring
The actual name of this Kusudama is 新フローラくす玉 or new floral kusudama and the author is 上田暁美/ UEDA Akemi. But at some place, people named it 春 くす玉 or Kusudama Spring..
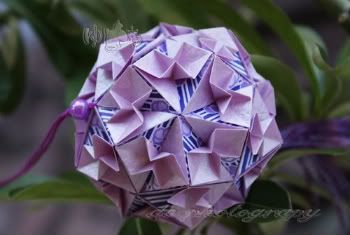
When I began to make this Kusudama, I decided to make it pink. I don't know why... but maybe my impression of spring are mostly about pink flower everywhere. So...pink it is !!
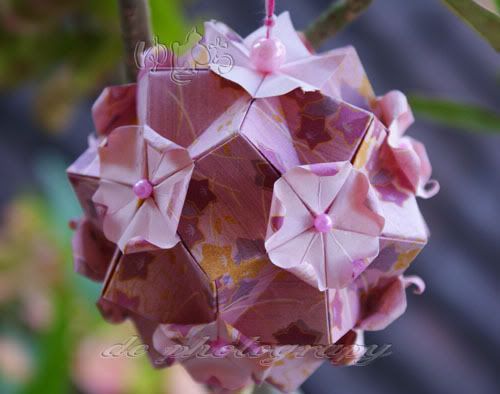
I made this from 30 pieces of flower printed pink paper sized 5 x 5 cm. It's mentioned that this type will look better if made by double sided Chiyogami or gift-wrap papers. But since I didn't have both type of papers, I printed flower patterned on some pink papers. I found the printing materials > HERE < This type are totally assembled with glue :
Actually, the petal parts of the Spring Kusudama should look like this :
If you want to see how the whole Spring Kusudama actually looks like, you can see it HERE
My variation of the petal parts look like this :
I just made them with a little curl for each petal.. My friend said that it's cuter that way so I made them curled... ^^
Here's the diagram
さくら玉 祭 ~ Sakuradama Festival
It wasn't really a festival. It's just that some of my friends're interested in Sakuradama so I decided to make them as presents... ^^
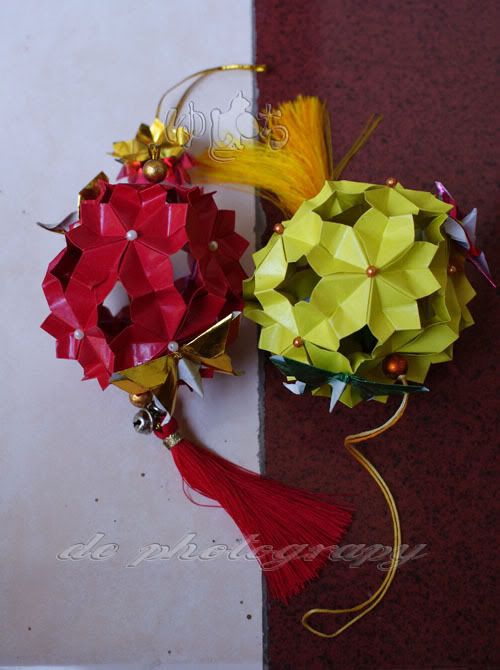
They got all items just like the former Peach Sakuradama, such as : 2 chibi sakuras, 2 Swallowtail Butterflies, and a tassel for each Sakuradama.
The 1st one will be given to my friend, Blue Ballad a.k.a Wira Kirros. He said that he wants Red Sakuradama, so here it is :
It's really similar to the former Peach Kusudama except the colors are different.
The 2nd Kusudama is meant to give to my dear kawaii o saru ( XD), Monkichi. Since she likes yellow, so this is how her Sakuradama turned to :
This time I tried a little variation. I 'trapped' 2 chibi sakura that usually put at the top string. I made it that way, but then I found out that it's really difficult to show them through the picture because the holes between each sakura parts are too small :
Hora... We can barely see them, right? >.<
But I assure you that we can see it for real... ^^
Monday, May 4, 2009
切り出し A くす玉 ~ Kiridashi A Kusudama
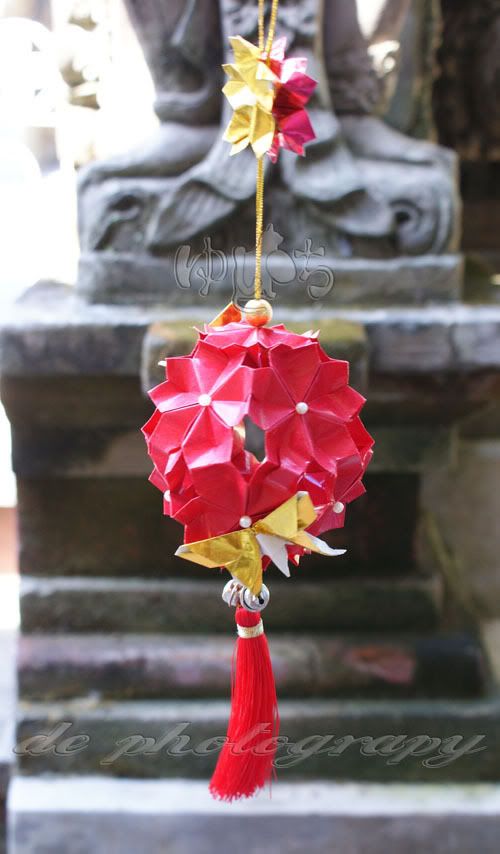
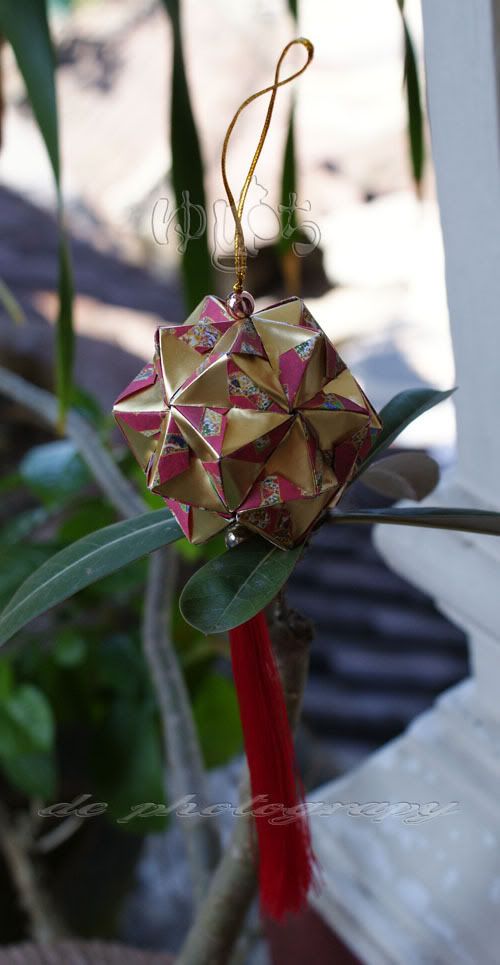
Wokey... Another kusudama origami art by Tomoko Fuse. This time I made it a little smaller because I meant it to be car's hanging decoration.
I made this from 30 pieces of patterned red paper sized 6 x 3 cm and 30 pieces of gold paper sized 6 x 3 cm :
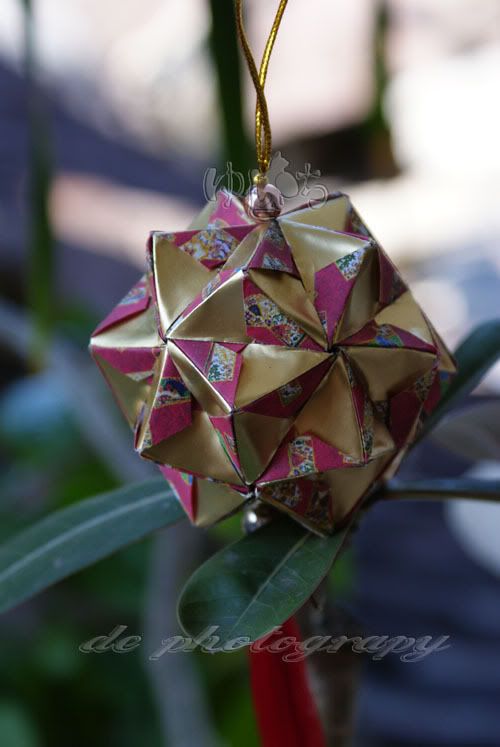
Zoomed in :
If you're interested in making it, here's the diagram
I made this from 30 pieces of patterned red paper sized 6 x 3 cm and 30 pieces of gold paper sized 6 x 3 cm :
Zoomed in :
If you're interested in making it, here's the diagram
Monday, April 27, 2009
うきポッケとカーラ くす玉 ~ Uki Pocket Curl Kusudama
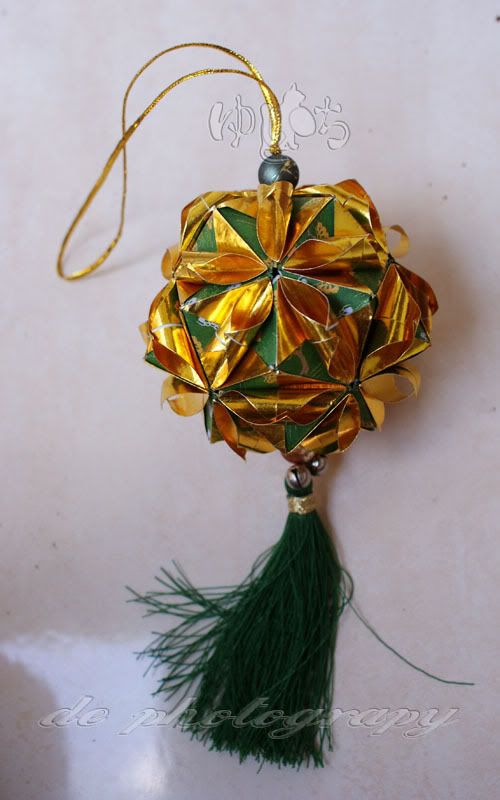
This is one of curl type kusudama by Tomoko Fuse. I made this from 30 pieces of green patterned paper sized 7 x 3,5 cm for the base part of the unit and 30 pieces of gold paper sized 7 x 3,5 cm as the curl part :
Zoomed in :
And here's the diagram just in case anyone eager to make it
Zoomed in :
And here's the diagram just in case anyone eager to make it
菊 くす玉 ~ Kiku Kusudama
This is Chrysanthemum type by Tomoko Fuse. It's pretty much different with Leroy's.
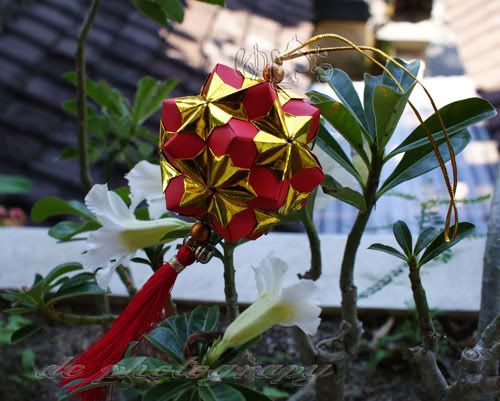
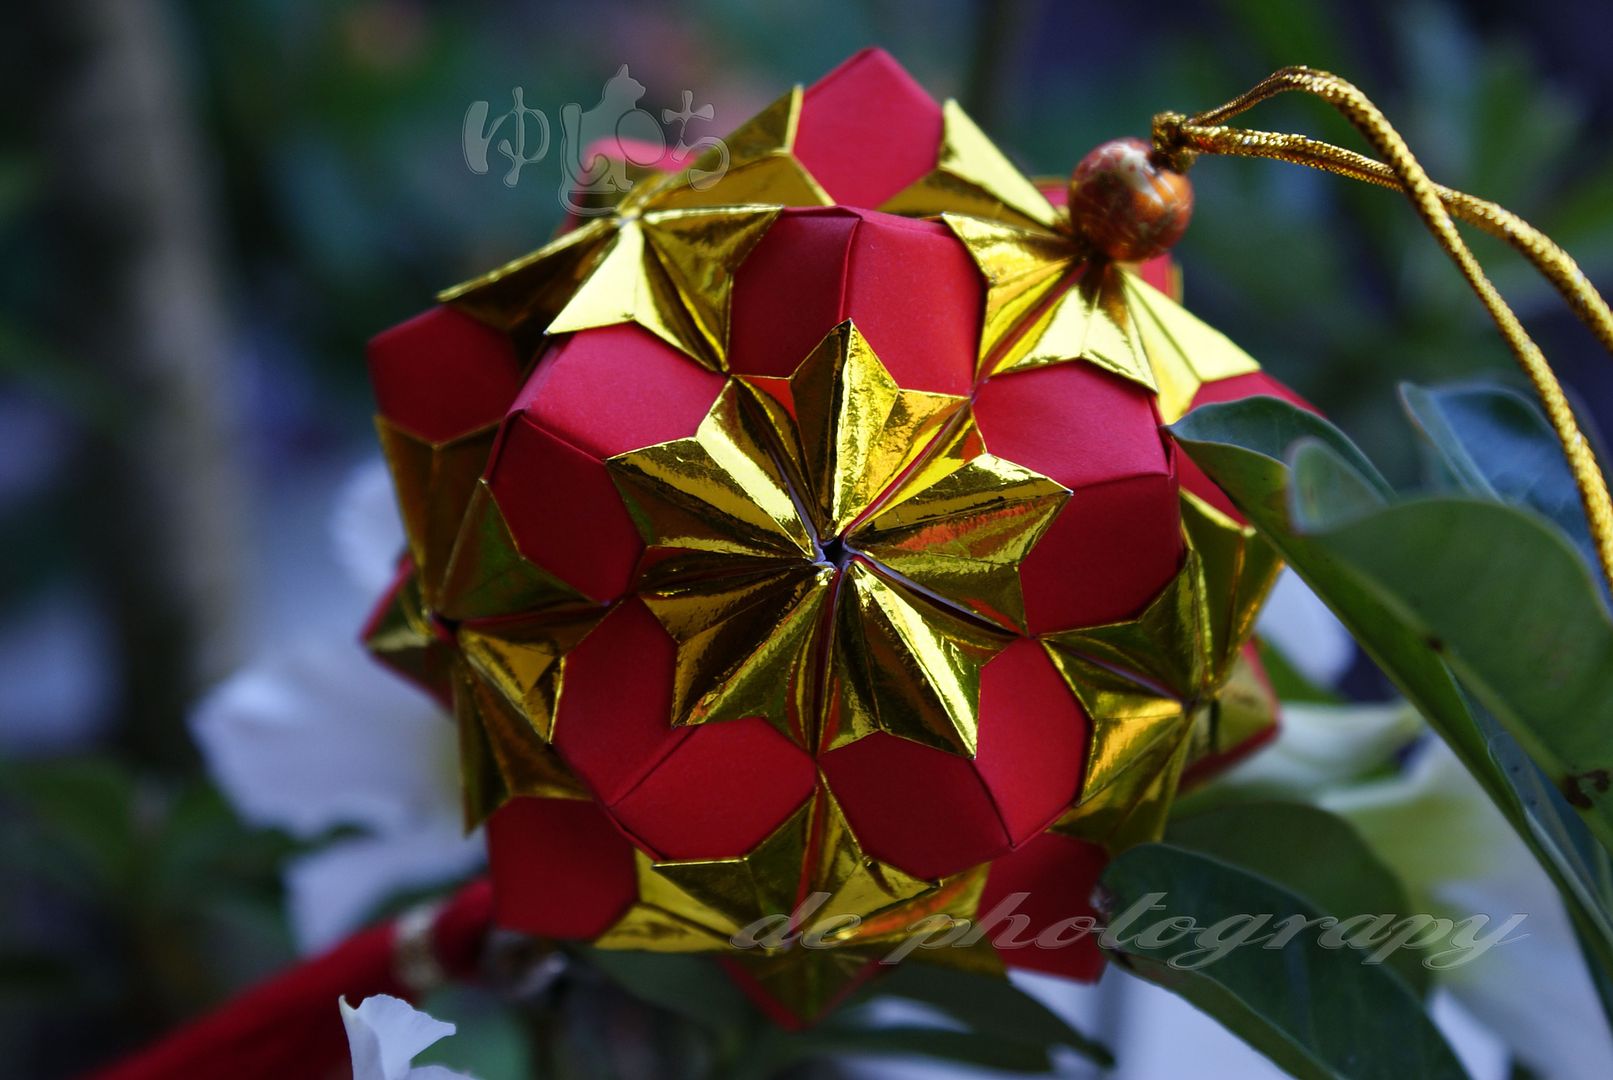
I made this from 30 pieces of red paper sized 7 x 3,5 cm and 30 pieces of gold paper sized 7 x 3,5 cm :
I also added tassel like THIS
And here's the diagram
I made this from 30 pieces of red paper sized 7 x 3,5 cm and 30 pieces of gold paper sized 7 x 3,5 cm :
I also added tassel like THIS
And here's the diagram
Sunday, April 12, 2009
中寄せ くす玉 ~ Nakayose Kusudama
Here's another one by Tomoko Fuse. I made this from 30 pieces of purple patterned papers sized 7 x 3,5 cm and 30 pieces of light purple papers sized 7 x 3,5 cm :
The main part :
Zoomed in :
And if you're interested to make this type of kusudama, you can find the diagram HERE .
And as always I added a tassel just like THIS one..
The main part :
Zoomed in :
And if you're interested to make this type of kusudama, you can find the diagram HERE .
And as always I added a tassel just like THIS one..
花吹雪 くす玉 ~ Hanafubuki Kusudama
This is my 1st Kusudama by Tomoko Fuse. According to the instruction, the paper size should be 12 x 6 cm. But it turned out to be quite huge for a hanging decoration and I ran out certain color papers which I used to made it... XD
So I remake the kusudama and reduced the paper size to be 7 x 3.5 cm and I think the result's size turned to be more reasonable as a hanging decoration. I made this type of kusudama from 30 sheets orange paper and 30 sheets green paper which already sized 7 x 3.5 cm :
The main part :
Zoomed in :
You can find the diagram HERE .
And as always I added a tassel and you can review how to make it HERE
Labels:
diagram,
hanafubuki,
kusudama,
no glue,
origami,
tomoko fuse
Hoshidama Variation
Actually this isn't really a variation from my previous Hoshidama prototype. I only changed the paper size to be 5 x 5 cm and added a tassel :
Zoomed in :
And this is how it looks like when compared with the prototype (8.5 x 8.5 cm) :
Zoomed in :
And this is how it looks like when compared with the prototype (8.5 x 8.5 cm) :
Subscribe to:
Posts (Atom)