I was browsing through the internet and I found something really interesting. Some people call it paper models and other peoples call it paper craft model. It's something made from paper and being built up as 3D models. The works consist of printing the patterns, cutting, folding, and sticking every part of the model with glue.
I wanted to try in making The Powerpuff Girls because I like them a lot. Even at this age I still love to watch their series XD
Other than that, they're classified as paper models for beginer. So I thought it wouldn't be that hard to make. When I was making them, I got the urge to whack the one who gave the information because they're really hard to make as a beginer! Why? Because the patterns mostly consist of curving lines. They're not just hard to cut, they're also difficult to be built with glue (-____- #)
I've really been through some pretty hard times to build them o(_ _)o
But I finally finished them in 5 days. Here they are :
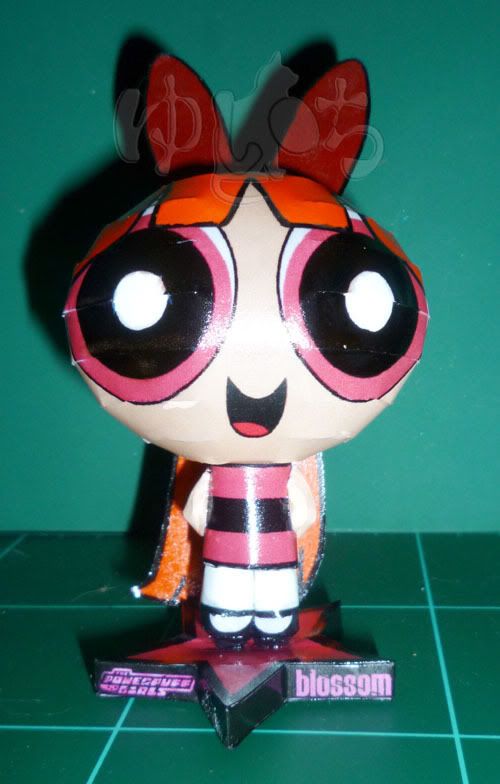
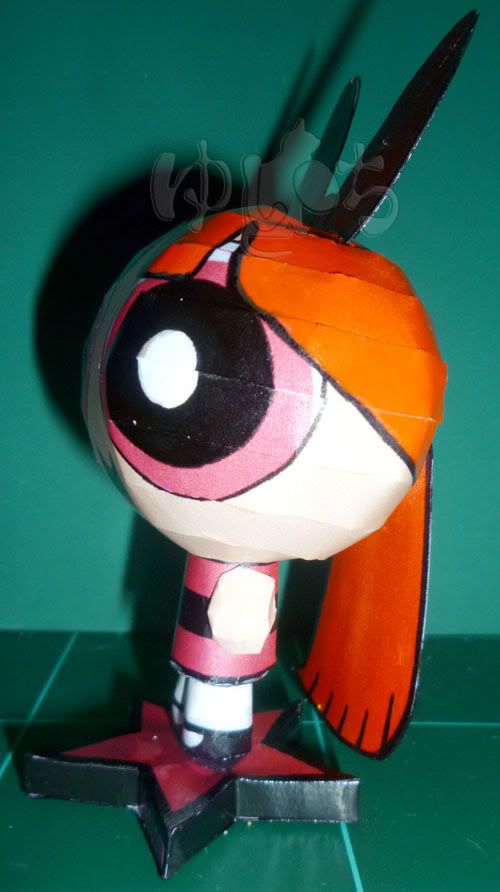
Blossom
The Commander and The Leader
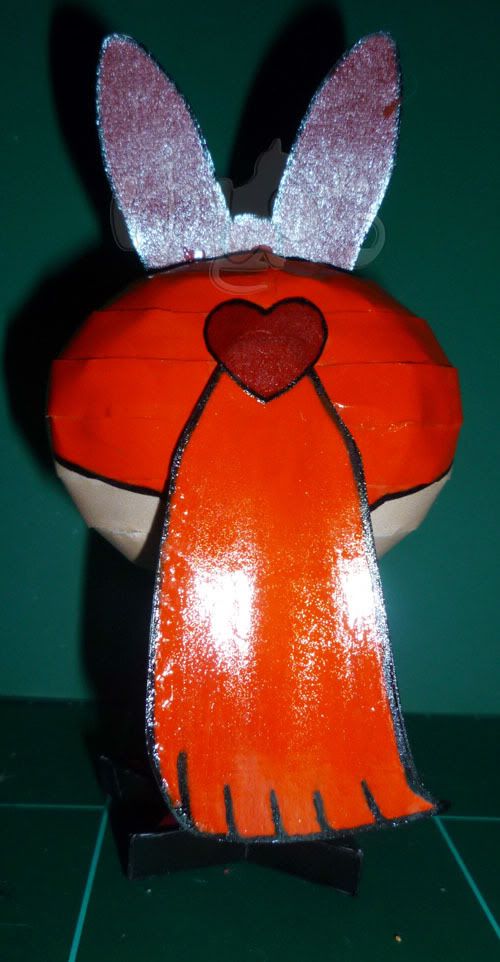
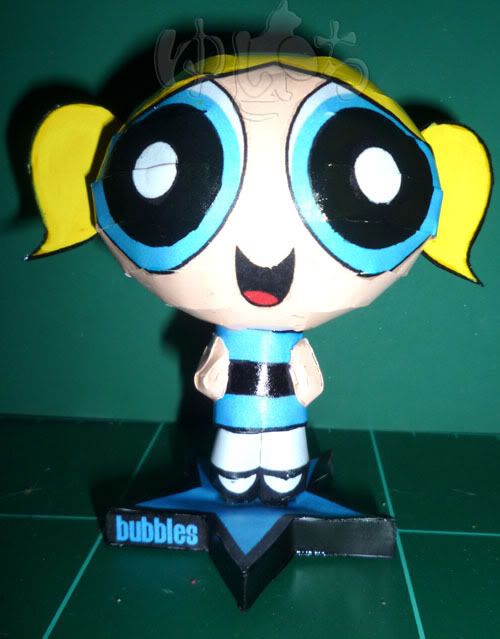
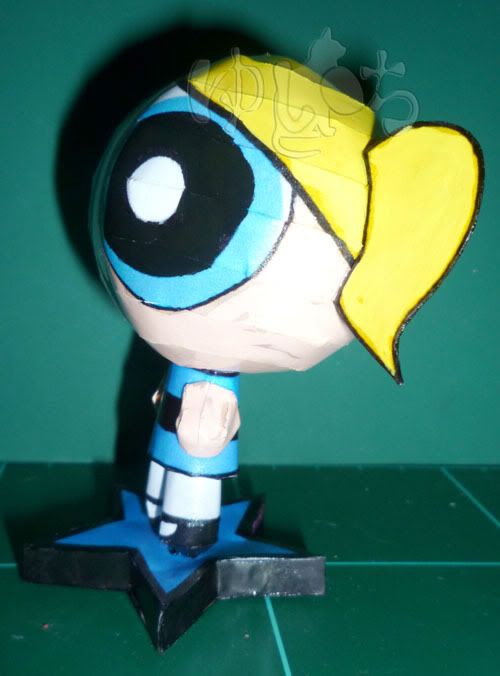
Bubbles
The Joy and the Laughter

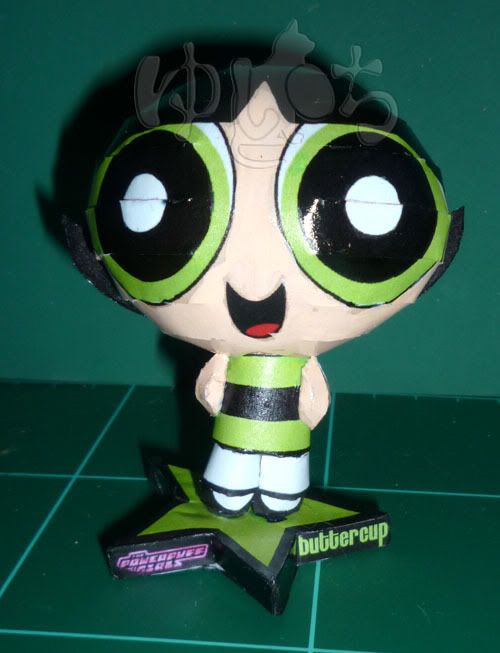
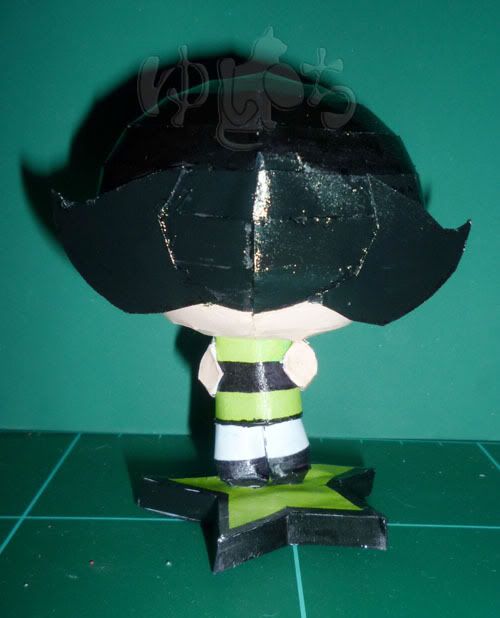
Buttercup
The Toughest Fighter
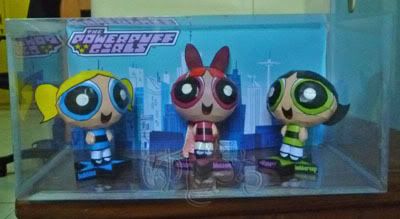
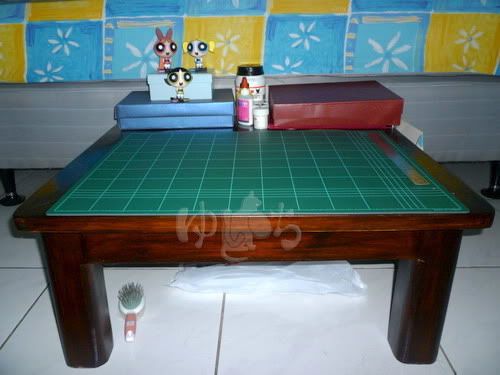
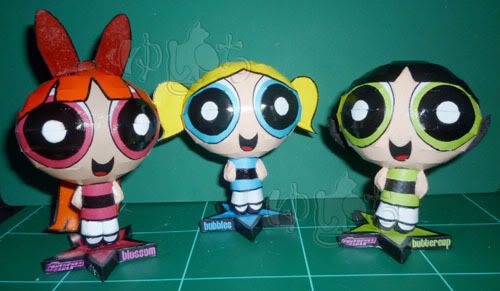
And together they are :
The Powerpuff Girls
Unglazed
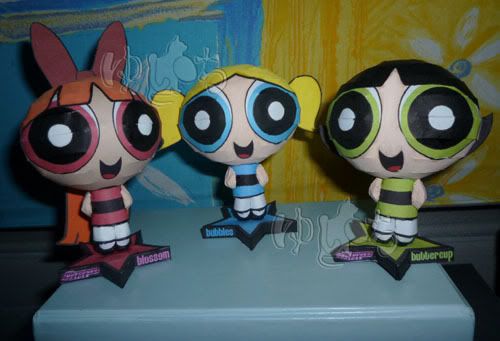
Glazed

I arranged them inside a plastic box and put a printed Townsville background on their back :
I got the patterns from
HERE
POWERPUFF SAVE THE DAY !!!