CLICK HERE FOR FREE BLOGGER TEMPLATES, LINK BUTTONS AND MORE! »

Pages

Monday, October 18, 2010

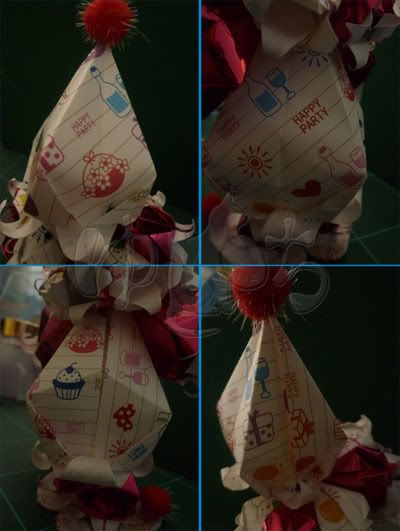
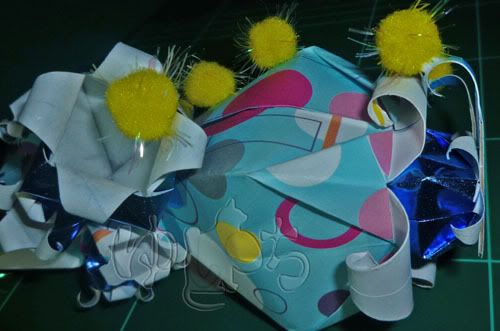
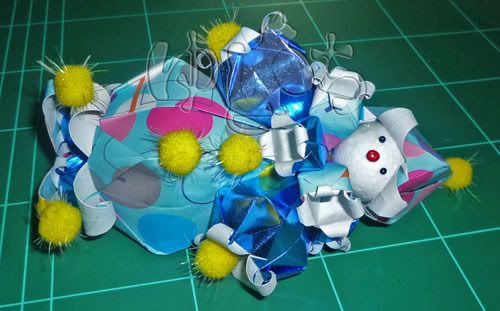
3D Origami doll #03 : Party Pierrot

I made this to be a birthday present for my cousin. I thought that I'd better make something for the present rather than think of buying something for her who can buy anything because she's the favorite child by her father sweat

PARTY PIERROT
Front view
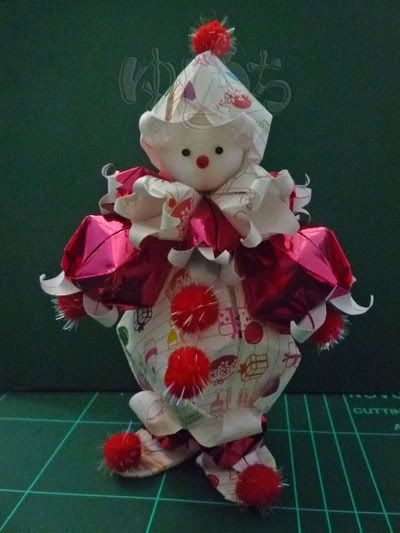


Side view
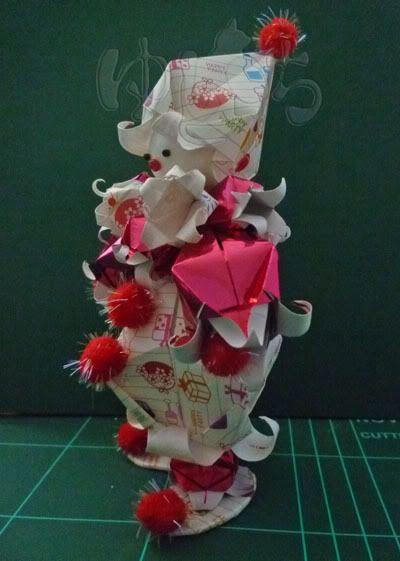
Rear view 
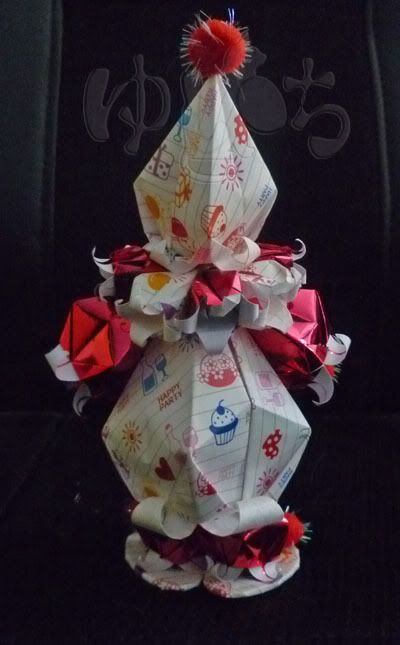
 I add an umbrella for this doll. I made it from 10 x 10 cm size paper, made a Kusudama Venus part's folding, and attached the umbrella holder :
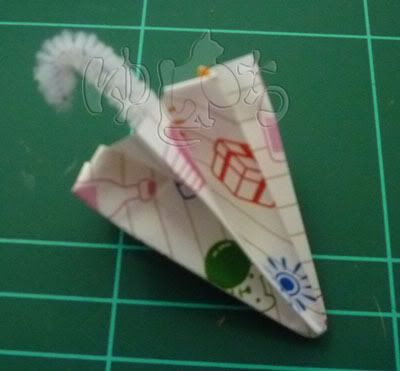

Complete Variation
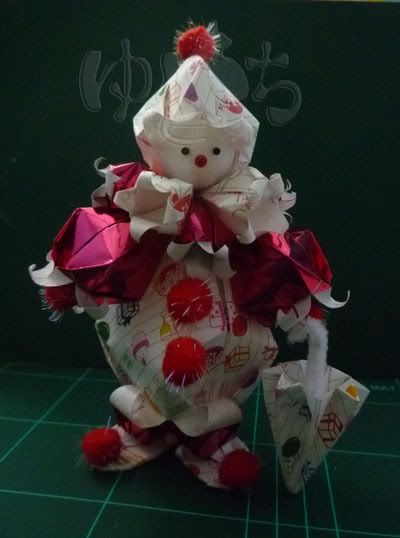
The reason why I named this doll Party Pierrot only simply because of the paper pattern grin


I arranged them into a plastic case and attached a birthday salutation on the back of its head :
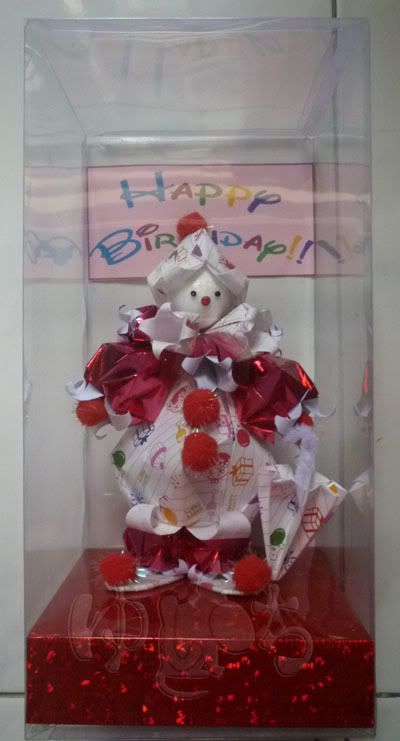
When I saw the final product, I don't know why I had the urge to sell it because it looks like it's saleable
yen
But I'm still going to give it to my cousin on her birthday anyway... hehe

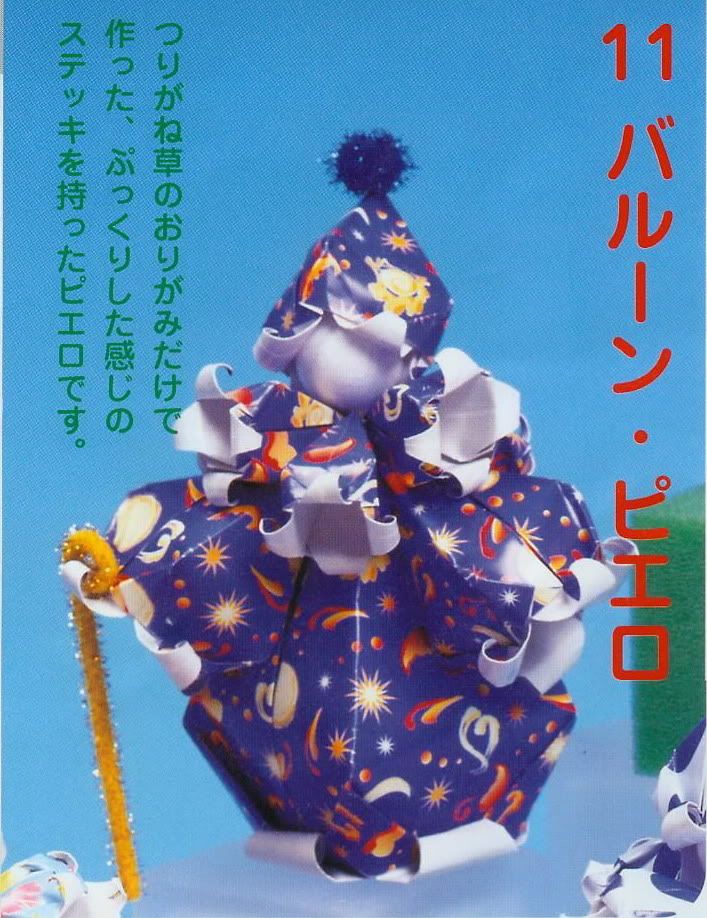
The instructions for making this doll are the same with my Ballon Pierrot

By the way, I also made an arrangement for the Powerpuff Girls paper models inside a plastic box. I posted the picture at their post.

Saturday, September 18, 2010

3D Origami Doll # 02 : Balloon Pierrot

Finally I could make this doll because my 'partner in crime' was accidentally found small ball-shaped stereo foams in a store and bought them for me  grin

So I stated to make a 3D origami clown doll which supposed to look like this :


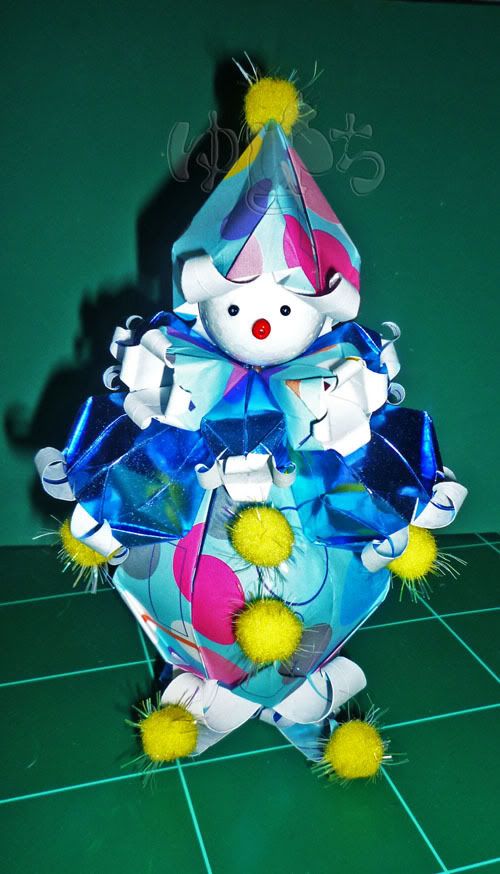
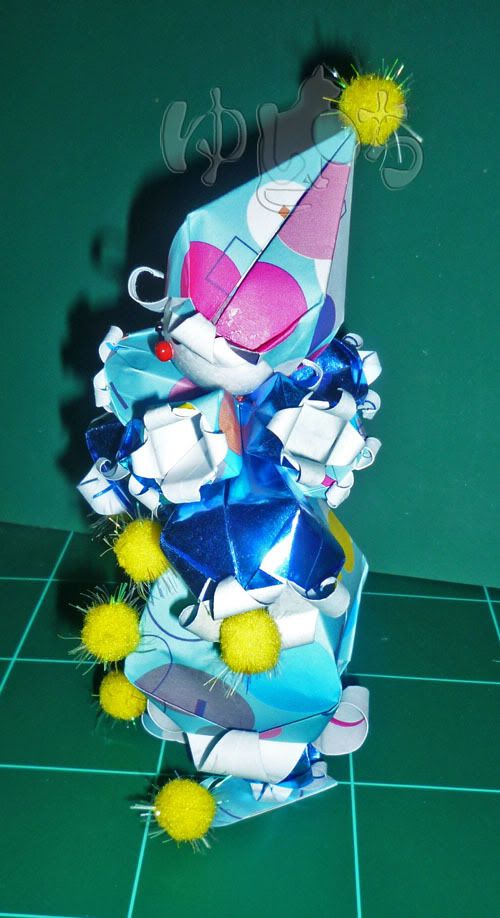
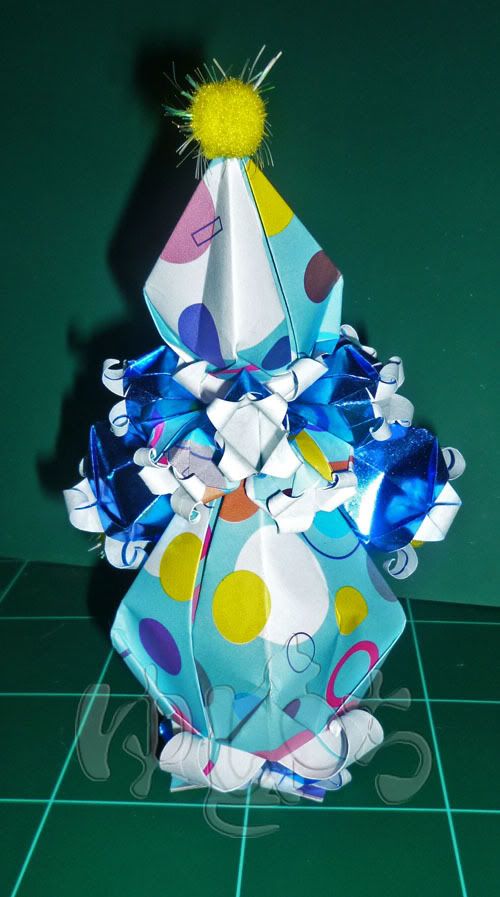
But when I was making it, I decided to make some modification because I felt like I want it to have legs with clown shoes. So this is how my doll turned out to be :

Balloon Pierrot
Front View

Side View

Rear View

I'd like to show you the modification for its legs and shoes, so I zoomed in those parts :


We can see it fully modificated when it's laying down :


All of the costume parts which built this doll were made like Bell Flower Origami with different size of papers :
  1. Hat           : 1 piece of 12 cm square paper
  2. Collar       : 8 pieces of 6 cm square papers
  3. Sleeves    : 2 pieces of 11 cm square papers
  4. Body        : 1 piece of 18 cm square paper
  5. Pants       : 2 pieces of 7 cm square papers
  6. Head        : 3 cm in diameter of a ball shaped stereo foam
  7. Small yellow pompoms for the hat, hands, buttons, and the shoes 
  8. Small beads for eyes and nose
Here's the INSTRUCTION of how to make this doll.

I'm thinking to make another one as a birthday present for my cousin on her upcoming birthday. But I need to find the paper for the costume first   sweat

Thursday, September 16, 2010

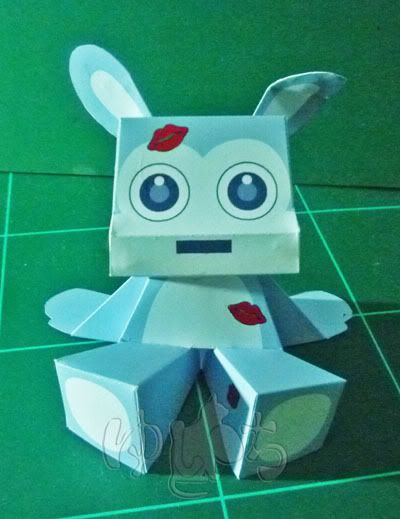
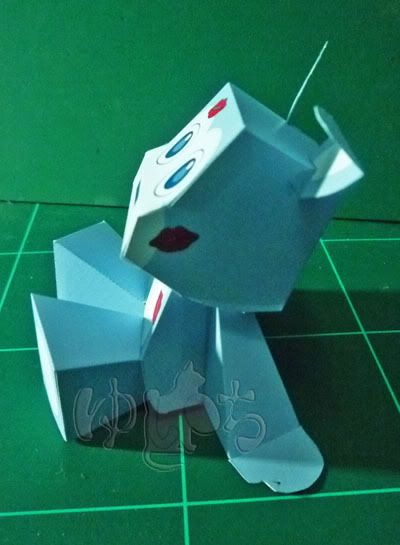
Paper Model #6 : Kiss Kiss Kiss

The next one is ROMMY's bunny model by Watanabe Tatsuya :

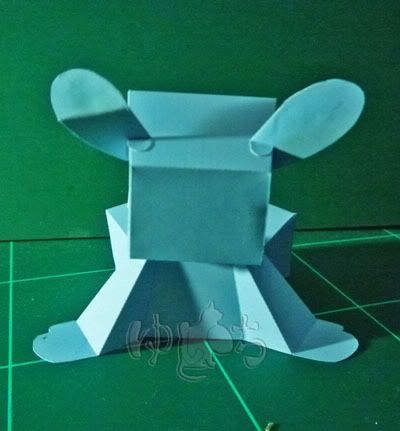
Kiss Kiss Kiss
Front View 

Side View 

Rear View

Here's the PATTERN for this model

Tuesday, September 14, 2010

Paper Model # 5 : Stuffed Panda

Here's my another ROMMY model project by Watanabe Tatsuya :

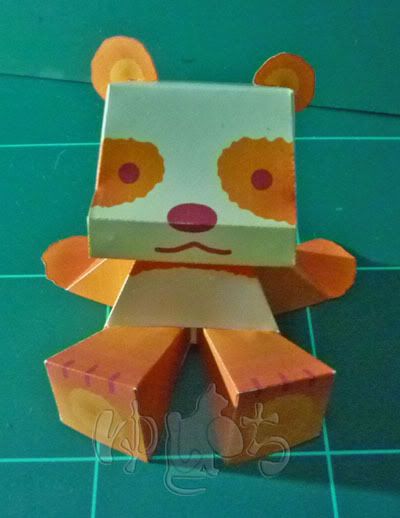
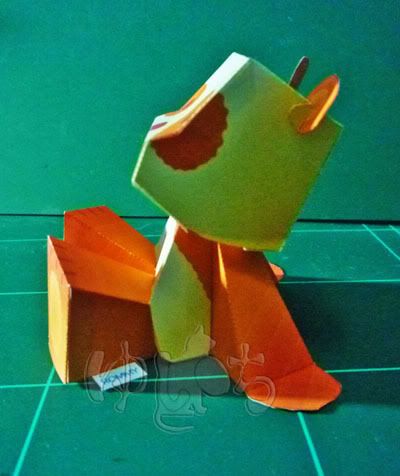
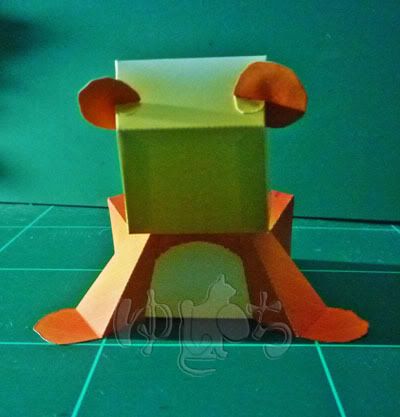
Stuffed Panda
Front View 

Side View

Rear View

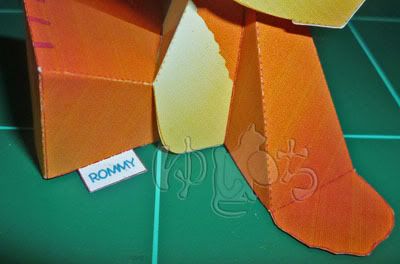
The amazing thing about this model is that since it's supposed to be a stuffed toy, it has a tag which properly attached on itself :

Here's the PATTERN

Sunday, September 12, 2010

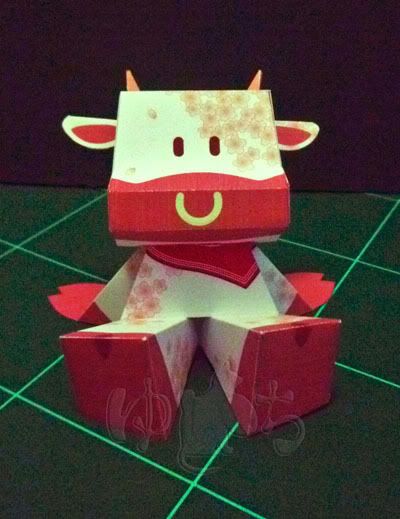
Paper Model #4 : Cherry Moo

This is an unique cow model from ROMMY series by Watanabe Tatsuya. What made it unique was the body pattern shaped like cherry blossom flowers... hehe

Cherry Moo
Front View

Side View

Rear View

This might the cutest cow paper model I've ever saw.... love

Here's the PATTERN

Sunday, September 5, 2010

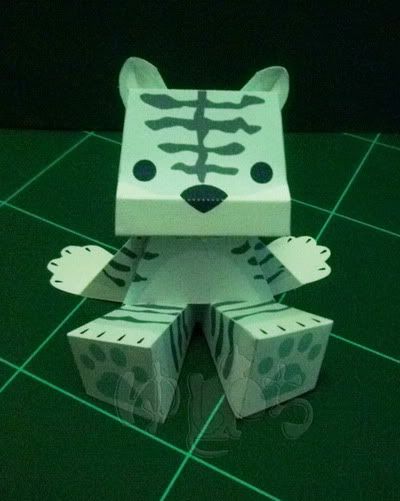
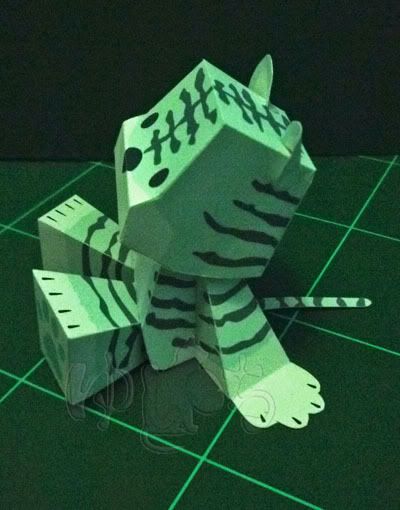
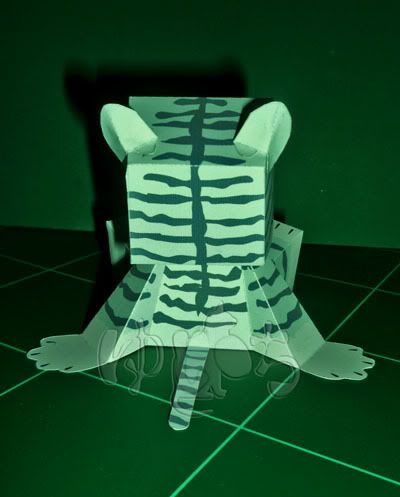
Paper Model #3 : Mint Tiger

Here's my second ROMMY model by Watanabe Tatsuya. The color's actually mint green, that's why it looks fade with the green background   sweat

Mint Tiger
Front View

Side View

Rear View

Here's the PATTERN

Saturday, August 14, 2010

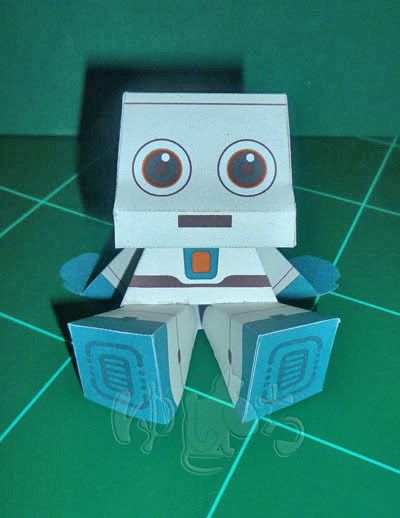
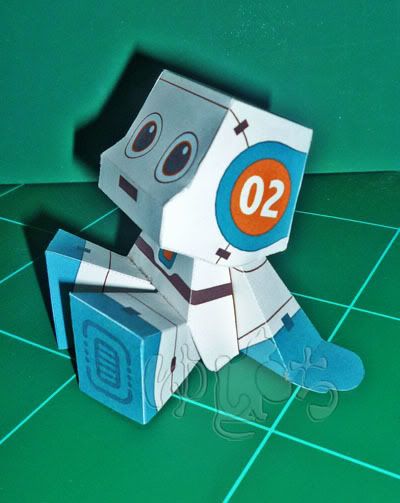
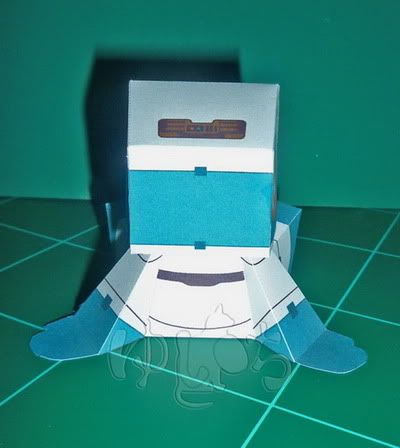
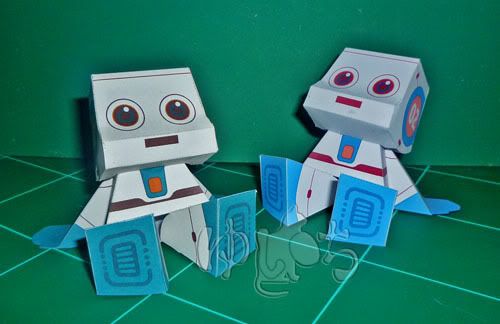
Paper Model # 2 : ROMMY "No.02"

If you made this model after challenged yourself to 'build' Powerpuff Girls paper models, then you'll find that this model is totally easy to make. Trust me! I've been through that myself!
The creator for ROMMY series was Watanabe Tatsuya. and like PPG paper models, the pattern for this model only need 1 sheet of A4 sized paper. And here's my result :

ROMMY "No.02"

Front View


Side View
 

Rear View

I made 2 of them because the test print pattern was alright , so I just built it up  XD


See?? Don't you think they're just lovably cute?? love

You can find the pattern for this model HERE. And you can also see the other ROMMY models on that site which....I'm planning to make them all... grin

I'll see you again in my next papercraft project  ^^