CLICK HERE FOR FREE BLOGGER TEMPLATES, LINK BUTTONS AND MORE! »

Pages

Wednesday, May 19, 2010

Modified Kawasaki Rose Wreath # 2 : Frozen Blue

I gave this to my cousin for her birthday on March 12. Honestly I wanted to keep this at first because the color is my favorite XD

Frozen Blue


The Butterflies


The Ribbon

Modified Kawasaki Rose Wreath # 1 : Summer's Valentine

Actually this project has been done months ago. It's just that my lazy brother kept on pending to take the picture of them (-___- #)

I got the idea for this project was because I want to make something for Valentine. Actually I wanted to make the advanced type of the rose but I failed to make it for days! o(_ _)o
Then I decide to make the intermediate rose model which I've already 'mastered'. Here's the 1st one :


The Butterflies


The Ribbon

It's currently hanging in front my room's door :


I made everything for this project from papers. Even the base of the wreath and the ribbon made from paper.

The instruction for making the rose can be found >> HERE <<

At first I only thought to make this. But after it finished, I got the feeling that I wanted to make this kind of project in 4 season theme (yes, I know I'm insane! XD )
I'll show the rest of them in the next posts.

Monday, May 17, 2010

Paper Model # 1 : The Powerpuff Girls

I was browsing through the internet and I found something really interesting. Some people call it paper models and other peoples call it paper craft model. It's something made from paper and being built up as 3D models. The works consist of printing the patterns, cutting, folding, and sticking every part of the model with glue.

I wanted to try in making The Powerpuff Girls because I like them a lot. Even at this age I still love to watch their series XD
Other than that, they're classified as paper models for beginer. So I thought it wouldn't be that hard to make. When I was making them, I got the urge to whack the one who gave the information because they're really hard to make as a beginer! Why? Because the patterns mostly consist of curving lines. They're not just hard to cut, they're also difficult to be built with glue (-____- #)
I've really been through some pretty hard times to build them o(_ _)o

But I finally finished them in 5 days. Here they are :


Blossom
The Commander and The Leader


Bubbles
The Joy and the Laughter


Buttercup
The Toughest Fighter


And together they are :
The Powerpuff Girls

Unglazed

Glazed


I arranged them inside a plastic box and put a printed Townsville background on their back :


I got the patterns from HERE


POWERPUFF SAVE THE DAY !!!

Monday, May 10, 2010

My Paper Art Station

Finally I officially have a place to work on paper arts. I've been longing to have it for so long since I practically don't have a desk in my room other than my computer desk which is.... well... we can hardly see the top side of it because it's mostly covered with various stuffs XD

I searched around my town to find a desk I want but I couldn't find it. SO I decided to order it at a carpenter shop near my office and it turned out to be a wonderful desk. I love it!

The full view of the desk

The dimension of the desk is l:70 w:70 h:30 centimeters. And if anyone's wondering about the brush under the desk, it's for my cat's fur XD

Zoomed in the top side of the desk
That green one is a cutting mat with A3 size. There's a 30centimeters metal ruler on the mat. Actually I have the longer one but it's borrowed by my brother at the moment I took this picture. Those boxes contain some stuffs :

My OLFA Treasure Chest
My Poster Paint Collection


My Paper Glue Collection with another poster paints


My Miscellaneous Goodies


Kyaaaaaaaa I LOVE IT !!!

Friday, April 16, 2010

3D Origami Doll # 01 : Shoko

YATTA !! \(^o^)/

I finally finished this doll!
This is what I said to be my 'obsession' XD

Actually it's not so hard to make this type of 3D Origami Doll. The folding works are pretty easy. It's just that it's hard for me to find some materials for this doll (my usual basic problem -_____-;;)
The most difficult to find in my area was the head part. It's a ball-shaped stereofoam. It took me quite some times to start this project because I wanted to make sure that I've already had most of the materials I need.

The theme for this doll was actually a country-style doll. Here's the original work :


I couldn't find some of materials everywhere here. I couldn't fine the wool for the hair and that ready made hat. But I still want to make one myself, so I made some variations for my doll.

VOILA !! Here's my version of this type of 3D Origami Doll :

SHOKO


From this view, we can see the petticoat on top of its shoes :


Upper body zoomed in


Side view


Rear view


I made the hair from black crepe paper and I changed the hat to be a bandana with 2 ribbons. And because of I was lack of that flower paper patterned, I changed the 2nd layer of the sleeves from the top with magenta tissue paper. Teehee.... ^^

My friend said it's not like a country girl anymore because of the style... XD

Here's the instruction to make it :

Sunday, March 28, 2010

3D Origami Dolls

3D Origami Dolls basically only consist of 3 type of origami works :

1. Kusudama Venus part's Origami


2. Bellflower Origami


3. Umbrella Origami
This one made from a round paper which are being fold into a half at 8 sections, then those folding creases are being arranged just like an umbrella creases.

Monday, March 22, 2010

Kurumi-e work # 01 - Childhood Friend

Since I love to work with papers, it's no surprise that I fall in love with Kurumi-e work. I found out about it months a go when I was browsing the internet and suddenly I had the urge to make one...no... some by myself XD
I bought 2 sets of Kurumi-e at first. Each set was already including :

1. The pattern
2. 1 small sheet of thick paper
3. 1 small sheet of thick paper with sponge
4. Some small pieces of various type of paper (washi paper etc)
5. Ready-made face part
6. 1 Shikishi board

The works are basically cutting the art papers then wrapped them onto each hard papers which are already been cut according to the main pattern, then they're being arranged on the Shikishi board by some glues.

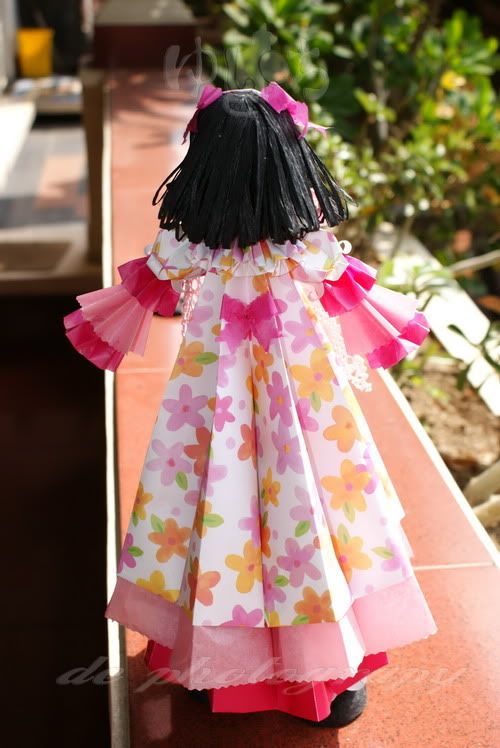
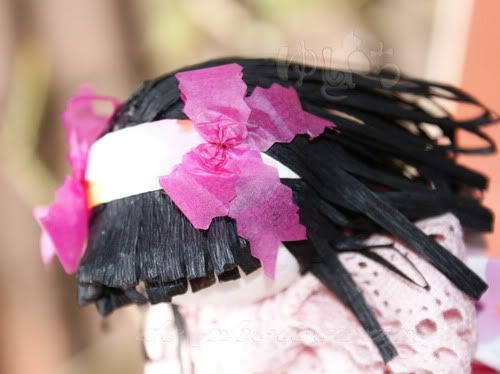
Here's the result of my 1st Kurumi-e :

Childhood Friends


ZOOMED IN


I decided to make the frame for it (of course) from paper. So I made a box with a see-through lid shaped of a frame :

The Base


The Lid


Here's my Kurumi-e inside its box frame :


Actually we can re-produce similar ones if we keep the pattern like I do (I made a copy of it at the beginning of the work). We also might be able to make them with different patterned papers. But we're going to need that ready-made face part and I'm very sure that I won't be able to find them around my area -____-;;
If only I found a way to get that face part, it'll be possible for me to make another one of this...

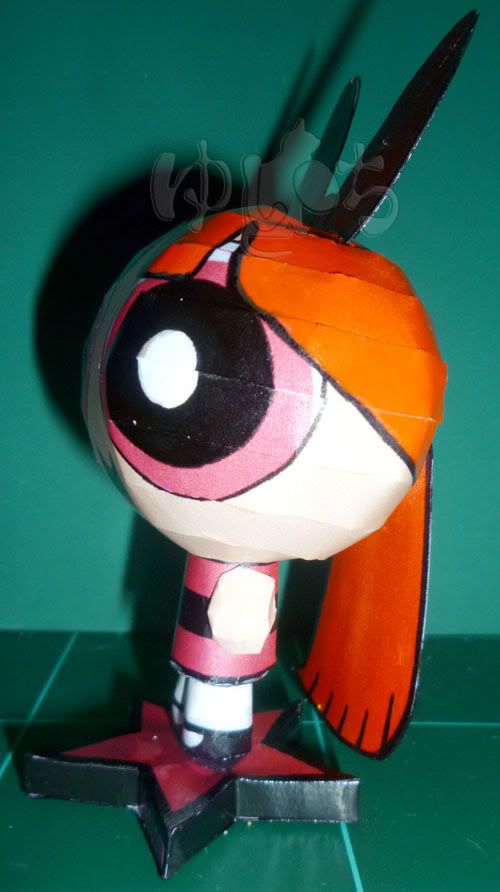
I still have one set of Kurumi-e kit to be made. But I want to make something I've been obsessed first.. XD
I'll show it when it's done ^^
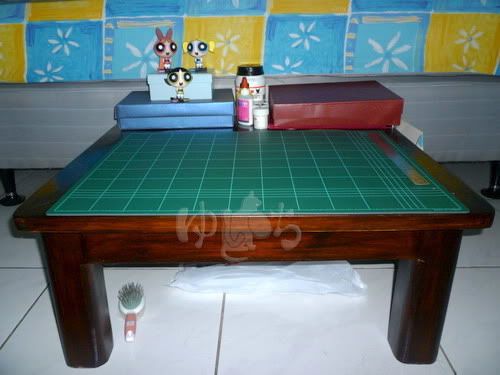
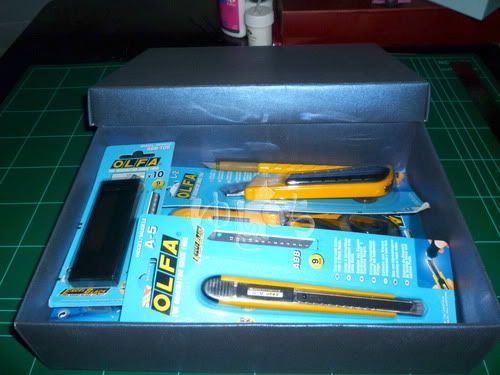
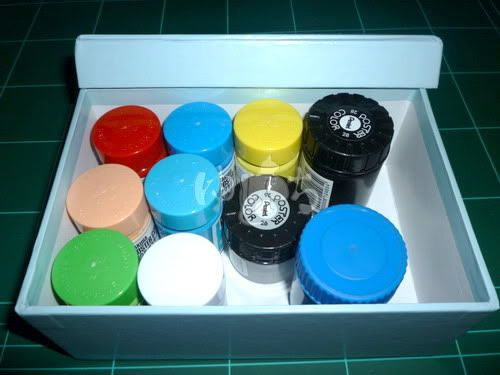
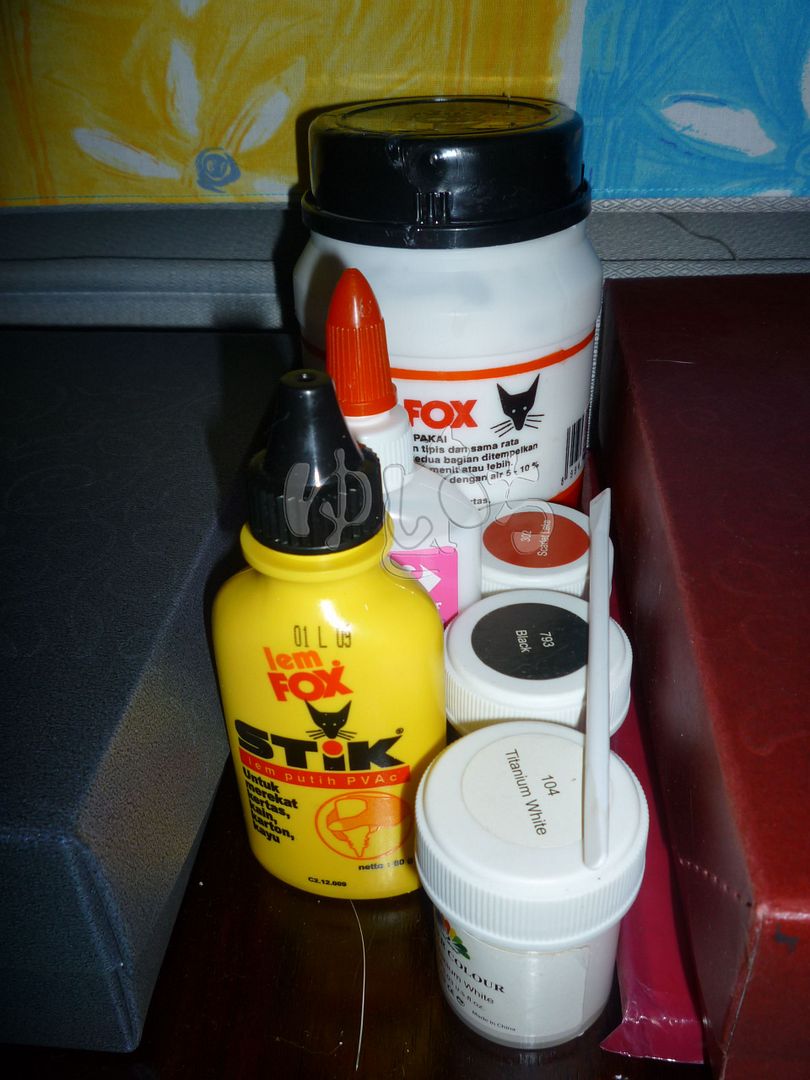
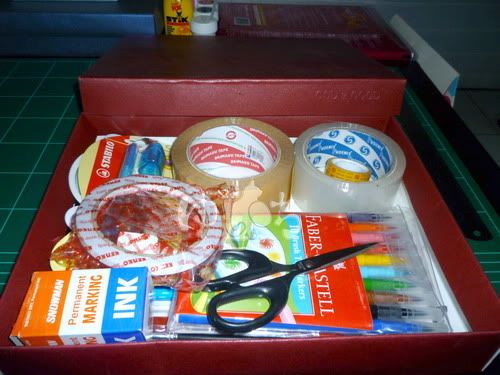
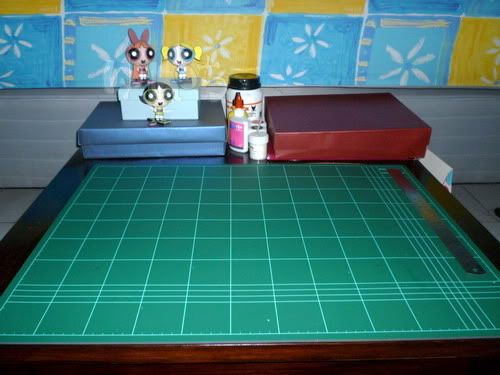